A common question we’re asked is “how to use one blog with multiple classes or subjects?” or “How do I send posts to multiple pages on my blog?”
This is easily done by assigning different categories to posts, such as assignment, discussion, maths or English, and then use a custom menu to create links to each post category in the top navigation of your blog.
It is ideal if you want to put up a post or question geared only towards one group of your students.
Students will see a link for their class in the top menu navigation of your blog, and once they click on that link, they will see only posts meant for them, with the most recent at the top.
Below is an example:

Live Demo
Check out how it works on our live demo blog. When you click on the Geography link in the top navigation you see all posts published for the Geography class.
About Custom Menus
Most our themes support custom menus which means you can customize your navigation menu and add a top navigation to almost any theme.
This allows you to easily:
- Re-arrange, add, and remove items from the main navigation area at the top of your blog
- Change the order of pages
- Create nested sub-menus of links (sometimes known as nested pages links or ‘drop down’ menus)
- Publish posts to different pages on your blog using post categories. This is handy if you want students to be able to click on a link in the top navigation for all posts published for their subject.
- Add custom links to your main navigation area
- Create a custom menu for your sidebar
Custom menus allow you to fully control the links that appear in your navigation menu- you can even add links to website and pages not on your blog!
Step 1: Publish a new post for each subject or class
The first step is you need to publish a new post for each subject area or class with the category assigned for that subject area or class.
Here’s how you do it:
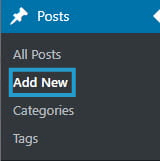
1. Go to Posts > Add New.
2. Add your title and post content.

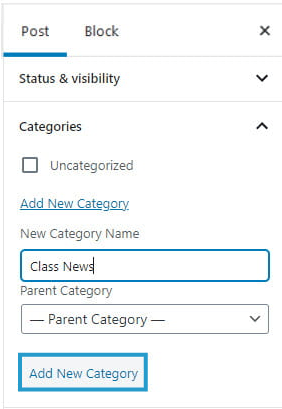
3. Click on Add New Category, type your new category name and then click on Add New Category.
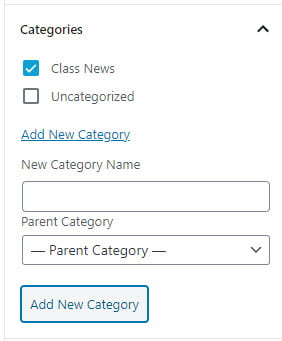
Here’s what it should look like when the category is assigned to the post:
4. Now click Publish.
5. Repeat the process to publish a new post for every subject or class.
- As you’re publishing the posts you’ll see them posted on your homepage.
- Don’t worry about this! We’ll show you how you can change this is step 3!
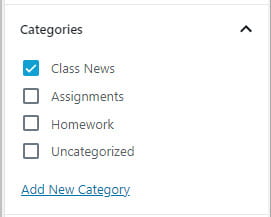
Here’s what your categories might look like when you are finished publishing all the posts!
Tips:
- If you want to use the same discussion question and have each class respond with comments for just their class then you need to write one post for each class and only assign one category to that post (i.e. their class category).
- If you are writing a general news post that applies to all subjects, or classes, and don’t want each class to respond with comments just for their class, you can assign the one post all categories.
The next step is you need to set up your custom menu by following these instructions:
1. Go to Appearance > Menus
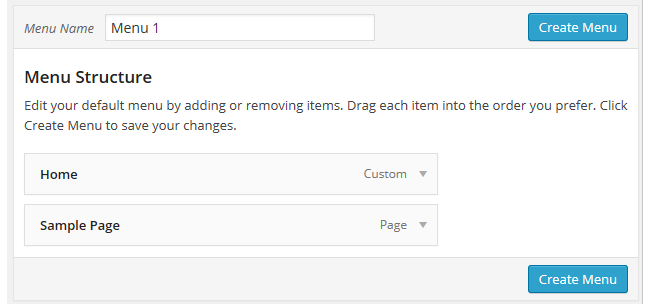
2. Click on the ‘Create Menu‘
The default menu title ‘Menu 1’ automatically includes a custom Home link to your homepage and any pages you’ve published. You can change the title ‘Menu 1’ to any name you want.
Here’s what a default menu structure looks like on a newly created blog:
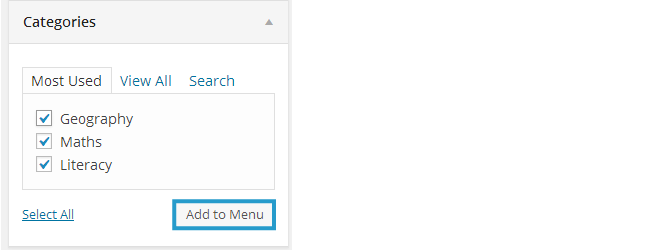
3. Select your categories you want to add to your menu then click Add to Menu.
- You must have publish a post that has been assigned the categories you want to use before you will see the categories listed on the menu page.
4. Now drag/drop the menu items to change their order in your menu.
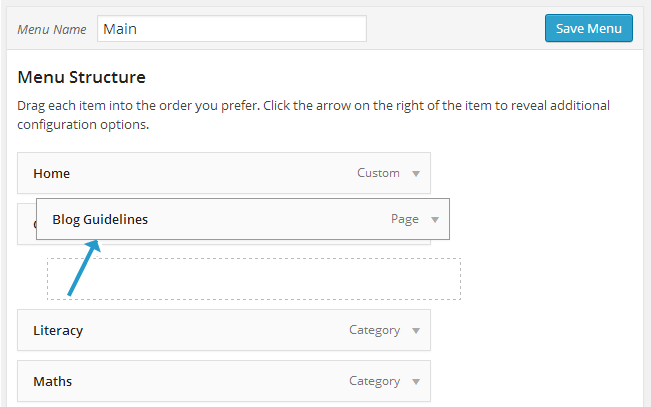
Any menu item that is indented will appear as a nested page under tab.
You can remove a menu item by clicking on the down arrow to the right of the menu item then click on Remove.

5. Select Primary menu to display in the top navigation on your blog.
- Auto add pages – if selected, new pages are automatically added to your custom menu when the page is published.

6. Click Save Menu.
Cool tip:
You can create static parent tabs using a custom link if you just want a link name that doesn’t go to a page that exists. This is handy when you don’t want the parent (top-level) tab to contact any content or be clickable.
To add static parent tab you create a custom link by typing the ‘#’ symbol in the URL field, add Link Text to specify what the tab will say, and then click Add to Menu. Now just drag and drop the link item when you want it to appear in the menu and then click Save Menu.

Step 3: Choose what to display on your “home page”
Because you’ve assigned categories to certain classes or subjects you may not want all posts to show on your home page.
If you are ok with all posts, no matter the subject or class, showing together on your home page, then you’re finished and your class blog is all set up.
However, if don’t want all posts displaying on your homepage then you’ll need to create a static home page.
Here’s how we are going to do it:
- Publish a page that has information you want people to see when they first visit your blog.
- Make your front page display a Static page.
Here is how you do it:
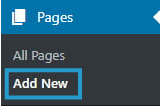
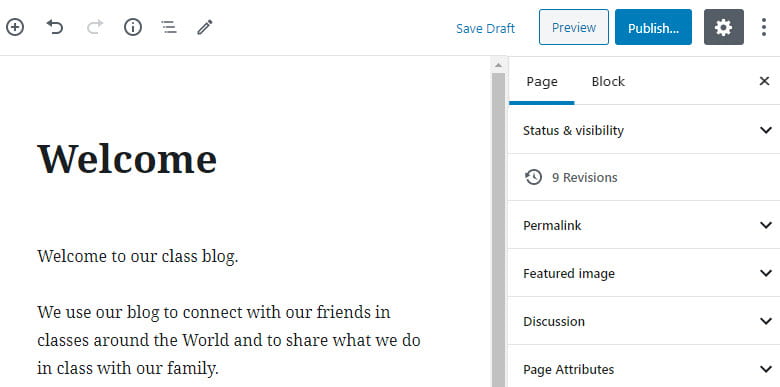
1. Go to Pages > Add New
2. Now just give your page a title, add your content and click Publish.
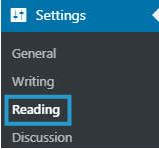
3. Go to Settings > Reading
4. Choose ‘Static Page‘ and in the drop down, select the new welcome page you just created.
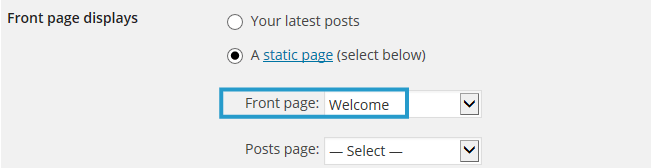
5. Click ‘Save Changes‘.
- You will be able to go back and update this page with new announcements whenever you like – but users that have subscribed to your blog feed or by email, won’t receive any sort of notification.
- You can also create a new blank page called something like “Posts”, and choose it under the posts dropdown box so that there will be a place for all posts to be shown on your blog in one place.
Troubleshooting
Knowing how to create custom menus is a really handy skill because there is so much you can achieve with custom menus. However, custom menus is a slightly more advanced blogging skills.
Refer to the custom menu support page for more information on working with menu’s or contact Edublogs Support if you need help setting up your custom menu.