Occasionally you might want to change the date of a post.
For example, you’ve just come back from holidays and want to backdate posts for days while you were away or you want to change the order of posts on your blog post page.
You do this using the same process as scheduling a post.
How you backdate a post depends on if you are using the classic editor or the block editor.
Block Editor
The following section explains how to backdate a post using the block editor. If you are using the classic editor, refer to backdate post using classic editor section.
You backdate a post using the block editor as follows:
1. Click on Post to access the Document Settings in the sidebar of the post editor.
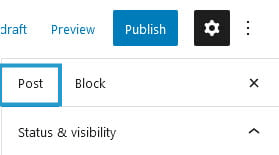
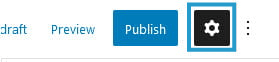
If you don’t see the Document settings, click on the cog next to Publish.
2. Click on Immediately link next to Publish under Status & Visibility.
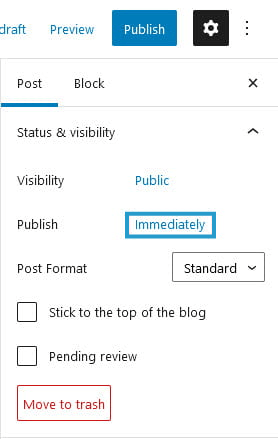
3. Select the date and time you want displayed on the post when it is published.

4. Click Publish.
Classic Editor
The following section explains how to backdate a post using the classic editor. If you are using the block editor, refer to backdate post using block editor section.
You backdate a post using the classic editor as follows:
1. Click on Edit link next to Publish Immediately in the ‘Publish’ module.
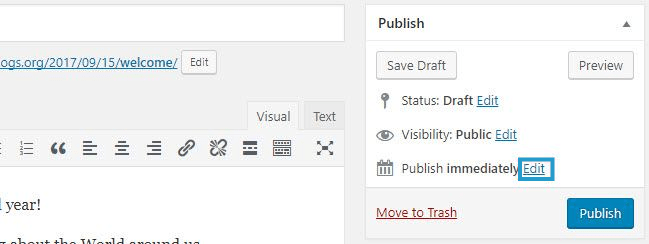
2. Enter the date and time you want displayed on the post when it is published.
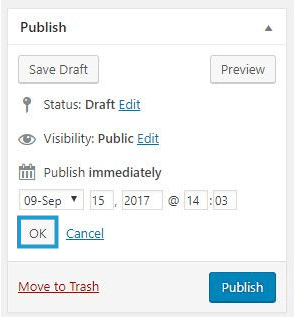
3. Click OK.
4. Click Publish.
Backdating a published post
Some educators change the date on a published post.
All you need to do is open up the post in edit mode, click on Edit link next to the date in the Publish module, change it to the new date and click Update.
This generally isn’t a good idea because it changes the Post URL For example, if you change the date just after a post is published, and you have email subscribers, the link in their email notification will no longer work.