Sites
Looking for end-user support?
This area is for Super Administrators and others interested in the overall management of WordPress sites and networks that we host.
>> Search our end-user support documentation here.
Below is the support documentation to help Support teams create, manage and work with sites.
Table of Contents
Create Sites
Below is an overview of all the different options for creating sites.
Batch Create
Batch create allows super admin users to quickly create sites by uploading a CSV file to Sites > Batch Create in the network admin dashboard.
For more information refer to Batch Create support documentation.
Site & User Creator
The Site & User Creator function is used to bulk create sites for new or existing users. This is the fastest ways for admin users to bulk create sites for their students, if you aren’t using My Class, and is a quick way for a super admin to bulk create new sites.
The Site & User Creator is disabled on all new CampusPress networks. Enable access by going to Settings > Site & User Creator in the network admin dashboard as follows:
1. Go to Settings > Site & User Creator in the network admin dashboard.

2. Select which components you want to enable and who can use.

Enable options:
- Yes – all admin users can use the component
- Super Admin only – only a super admin user can use the component.
- No – component is disabled
3. Click Save Changes.
My Class
My Class > Create Student blogs is used to bulk create student sites when My Class is set up on the site. This is the recommended way for teachers to set up and manage students blogs..
To use My Class the Classes plugin must be network activated in Plugins > Plugin Management the network admin dashboard and My Class needs to be set up on the class blog.
For more information refer to Create student blog support documentation.
Sign up page
Users can also create their own sites if you have enabled your sign up page in Allow New Registrations in Network Settings.
Auto Create
Whenever possible, we recommend using a method to tie into your existing user accounts such as LDAP, Google Apps, or Shibboleth
If you use one of these options you can set it up to auto create the site the first time a user logs into your CampusPress network using their school username and password.
Add New site
Super admin users can create a new site using Sites > Add New in the network admin dashboard.
We don’t recommend you use Sites > Add New if creating a site for a new user because their username is created using the site address and doesn’t allow you to specify what username you want to use.
For existing users, you create attached to their existing email address. Once their site is created the user logs in with their existing username and password.
Template Site
You are able to set up template sites that can be used for creating new sites that are almost the exact copy of the template site.
This tool is perfect for CampusPress networks that want to provide a standard site template for class blogs, student blogs, portfolios, course blogs or websites. Using blog templates, you can ensure all newly created sites have the same appearance, header image, categories, widgets, plugins and your own customized content in posts, pages and comments.
For more information refer to New Blog Template Support documentation.
Manage Sites
The most common reasons why a super admin searches for a site in the network admin dashboard is to:
- Confirm which users are attached to site.
- Archive, deactivate or mark a site as spam.
- Confirm if a site has been created.
Finding Sites
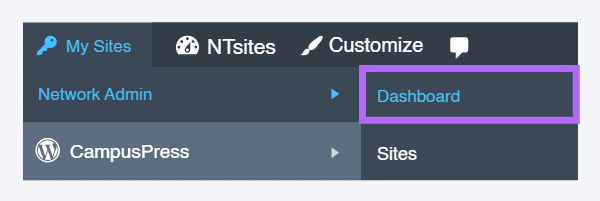
1. Go to the Network Admin dashboard.
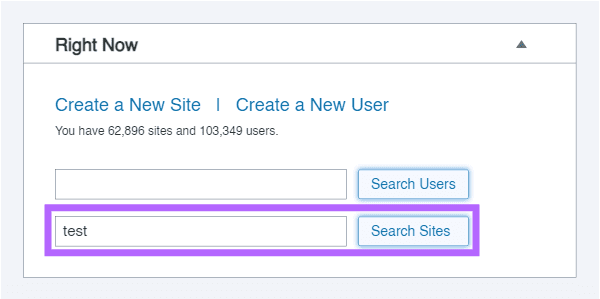
2. Locate the site by searching the site URL using ‘Search Sites‘ on the Right Now module.
3. You have a range of options once the required site is located:
Dashboard
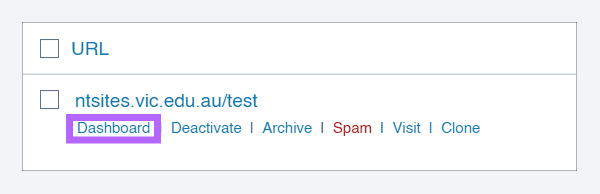
When you click on the Dashboard action link it takes you to the dashboard of that site where you have complete access to all features of that sites e.g. you can add, edit, delete posts and pages; modify site settings; change the theme.
Deactivate
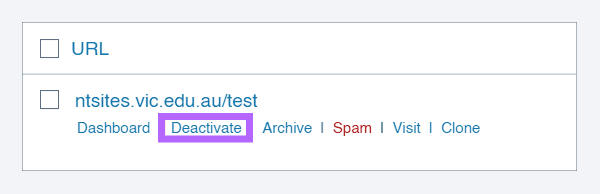
Reverses the activation step users go through when they signup for a sign.
Deactivated sites can be reactivated without causing issues.
You would normally use archive rather than deactivate.
Archive
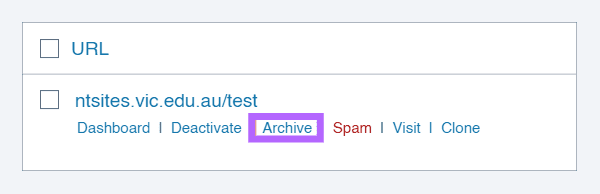
Marks a site as being archived so it’s not accessible by users.
Archived sites can be unarchived and used again immediately.
Spam
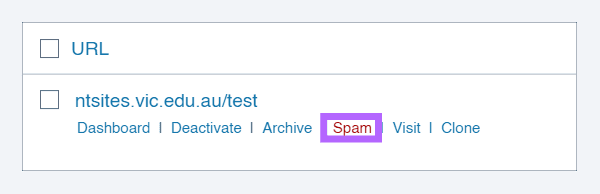
Used when you find a spam site but aren’t completely sure so you mark it as spam.
You can mark it as “not spam” if it turns out to be legit.
Visit
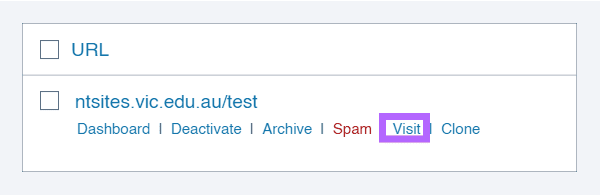
Takes you to the front end of a site.
Clone
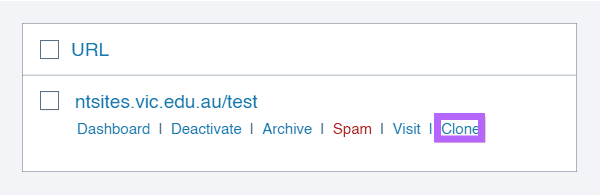
Used to clone a site.
This can be useful for:
- moving a site to a new URL
- setting up a staging/testing environment
- creating multiple sites from one template
- keeping backup copies of important sites
Site Usage Reports
You are able to download a range of usage reports from Dashboard > Reports & Batch Edits in the network admin dashboard including:
- Sites List – sites listed by their URL, site name, admin email address, number of users, number of posts, number of pages, created (date site created), updated (most recent date a post, page or custom post type was published or modified after publication.), privacy and status.
- Theme Usage – lists theme usage on all sites by URL, site name, admin email address and theme name.
- Plugin Usage – lists plugin usage on all sites by URL, site name, admin email address and plugin name.
- Admin List – sites listed by their URL, site name, admin email address (email address in Settings > General).
- Complete Users List – users listed by their username, email address, First name, last name, date username created, number of sites they are attached to and their authentication method.
- Index additional data – allows a super admin user to run a script on the options table, theme mods, custom post type, table entries count.
The sites list provides information on how the users are using their sites. We also recommend you set up network wide Google analytics to track visitor data across all sites on your CampusPress network. Once set up it automatically displays data that your users can refer to in Dashboard > Statistics of their site while allowing more in depth analysis of your CampusPress network data inside your Google analytics account.
For more information on site usage reports refer to Super admin scripts support documentation.
Batch Edit Sites
Batch edit sites using Dashboard > Reports & Batch Edits in the network admin dashboard includes the following options:
- Bulk archive sites.
- Bulk unarchive sites.
- Delete sites.
- Change users roles on all sites user is a member of
- Remove users from all sites (but not delete them).
- Remove one user from a list of sites.
- Change users account authenication type.
- Change the privacy of a site.
- Change Site theme.
- Activate/deactivate plugin.
- Remove student blogs from a class blog.
- Attach blogs to a class blog.
For more information on batch edit refer to Super admin scripts support documentation.
Clone Site
You are able to clone sites which is useful for:
- moving a site to a new URL
- setting up a staging/testing environment
- creating multiple sites from one template
- keeping backup copies of important sites
For more information refer to Cloning & Staging.