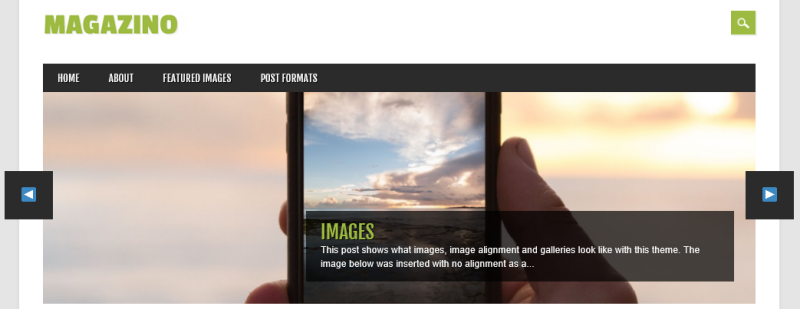
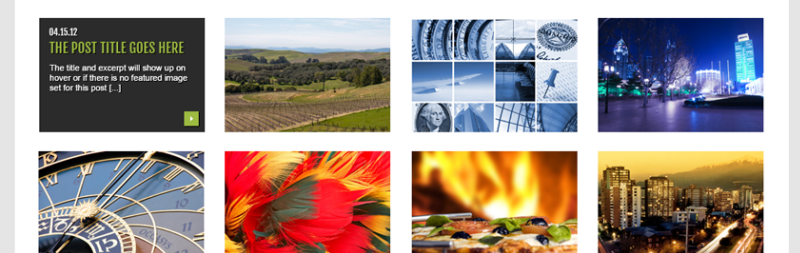
Magazino is a simple and flexible theme ideally suited to magazine style blogs. Magazino displays a featured slider above grid thumbnails.
This theme is designed to display the featured image in the slider and the first image uploaded to the post (from your computer using the Add Media icon) in the grid thumbnails. The theme was altered to work this way to provide users with better control over how images are displayed in the slider and grid thumbnails.
Home page slider
Magazino displays a featured slider above grid thumbnails. The homepage slider is automatically activated when at least two posts have been published.
For best results we recommend all posts have a featured image set of 1000 pixels wide by 300 pixels high — this is the ideal featured image size needed for the slider. Featured images that exceed these dimensions are automatically cropped. If there is no featured image set, the first image attached to the post will be displayed in the slider and if the first image is too large it will be cropped and if it is too small it’ll be resized.
Set Featured Image
How you set a featured image depends on if you are using the classic editor or the block editor.
Block Editor
You set a featured image on a post or page using the block editor as follows:
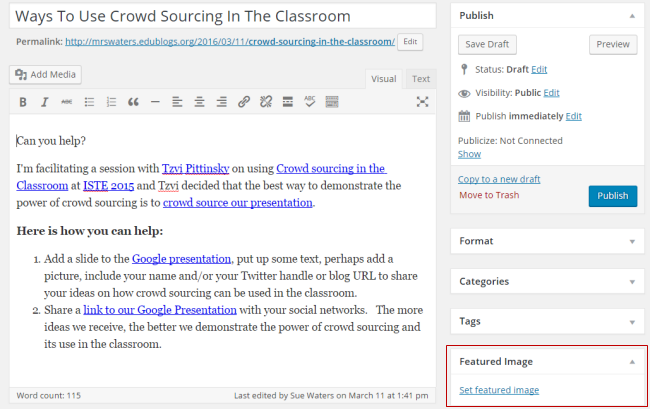
1. Click on Post or Page to access the Document Settings in the sidebar of the post/page editor.
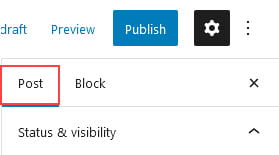
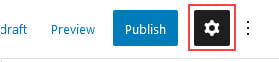
If you don’t see the Document settings, click on the cog next to Publish.
2. Click on Set Featured Image in the Featured Image module.
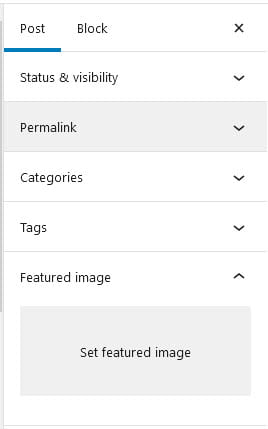
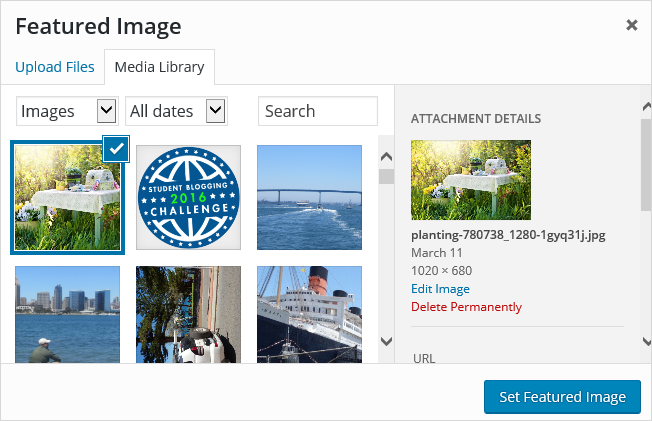
3. This launches the Featured Image window where you can upload an image or select an image from your media library.
4. Once the image has uploaded, or you’ve selected the image you want to use, click on Set Featured Image.
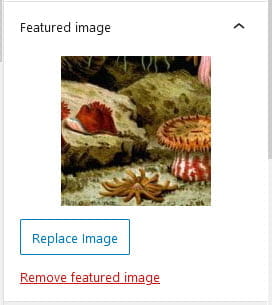
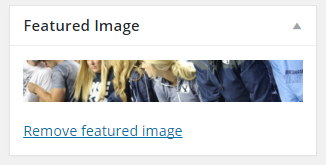
You should see the image displayed in the featured image module.
5. Click Update or Publish to save your changes.
Classic Editor
You set a featured image on a post or page using the classic editor as follows:
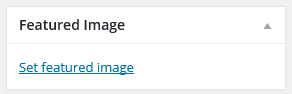
1. Scroll down to Featured image module.
2. Click on Set Featured Image.
3. This launches the Featured Image window where you can upload an image or select an image from your media library.
4. Once the image has uploaded, or you’ve selected the image you want to use, click on Set Featured Image.
You should see the image displayed in the featured image module.
5. Click Update or Publish to save your changes.
Sticky Posts
All posts are automatically displayed in the featured slider. You can set specific posts only to display in the slider by setting the posts as “Stick this post to the front page“.
How you mark a post as sticky using the post editor depends on if you are using the classic editor or the block editor.
Block Editor
You mark a post as sticky using the block editor as follows:
1. Click on Post to access the Document Settings in the sidebar of the post editor.
If you don’t see the Document settings, click on the cog next to Publish.
2. Select Stick to top of the blog under Status & Visibility.
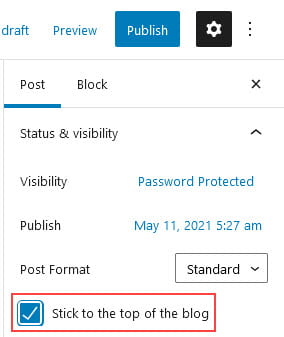
3. Click Publish
Classic Editor
You mark a post as sticky using the classic editor as follows:
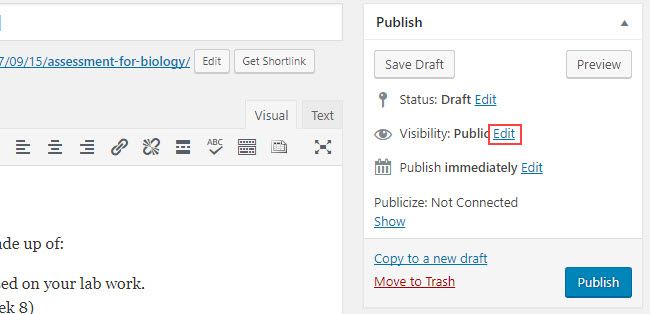
1. Click on Edit in the Visibility area of the Publish module
2. Check the option that says “Stick this post to the front page” and click OK
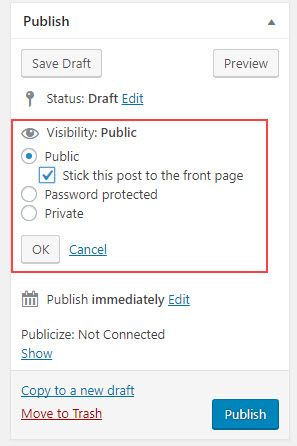
3. Click Publish
Grid Thumbnails
Featured images are only displayed in the slider. The first image uploaded to the post is displayed in the Grid thumbnails. The image must be uploaded to the post from your computer to display in the grid thumbnails. It won’t display an image added from the media library.
The theme was altered to work this way to provide users with better control over how images are displayed in the slider and grid thumbnails.
The image used for the grid thumbnails is 300 pixels wide by 200 pixels high. Large images may not load properly in the thumbnails and could be cropped. If you don’t want the image cropped it is best to resize the image to 300 x 200 before uploading and then insert as the full size image or select medium size (300 x 225) when inserting the image into the post.
You won’t see an image in the grid thumbnail if an image isn’t uploaded to the post.
Please note:
- If you do not want the thumbnail image to display in your post, you can remove it after it is added.
- Upload the image to the post from your computer using the Add Media button and then update the post. Once it updates, remove the image and update the post again.
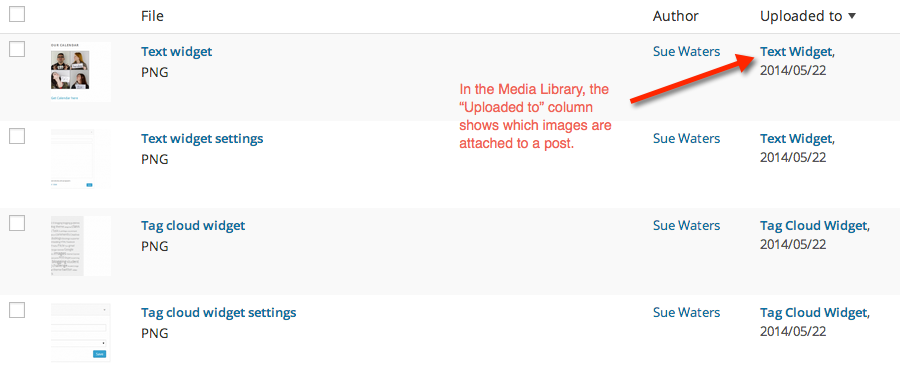
- This will remove the image from the post, but it will still be attached to the post in the Media Library and is automatically displayed in the post thumbnail.
Troubleshooting
Home page slider is not displaying correctly
Open the post and upload a new Featured Image to the post of 1000 pixels wide by 300 pixels high.
To remove or change a featured image, simply re-open the post or page editor and click on Remove featured image.
Once the featured image has been removed you’ll see the option to Set featured image.
Image isn’t displaying in grid thumbnail
This means there are no images attached to the post.
You fix this as follows:
1. Open the post in edit mode.
2. Click on Add Media button.
3. Upload a photo from your computer and insert into the post.
Post is displaying the wrong image in the grid thumbnail
The first image uploaded from your computer to the post is the image displayed in the grid thumbnail.
If the image you wanted displayed isn’t the first image you uploaded you need to go to Media > Library and deleted any posts attached to the post.
Once all photos attached to the post are deleted you fix as follows:
1. Open the post in edit mode.
2. Click on Add Media button.
3. Upload the photo you want to appear in the grid thumbnail from your computer and insert into the post.
4. Click Update.
5. Check your homepage to confirm the correct image is now loading.
6. Now upload any other additional pictures you want to the post using the Add Media button.
7. Click Update.
Uploading Tip
Sometimes your uploaded image will not show up on the homepage even if it is the first one attached to your post. This seems to result from the image being previously uploaded to the media library and then added to the post from the library.
To ensure that your image appears on the homepage, use the Add Media button in your post editor to upload the image from your computer directly into the post.
Also, be aware that the same image can not be used as both the featured image and the grid image on the home page. If you add an image to your post content and then set it as the featured image, the grid thumbnail will appear blank.
If you want the same image to be set as the featured image for your post, then you should upload a second version of the image and use that file as the featured image.