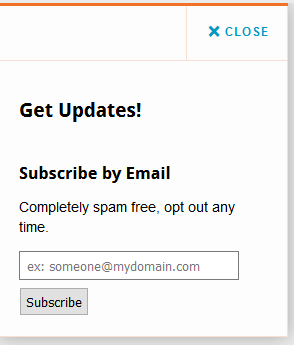
The Slide In plugin adds smooth slide-ins to your site to grab your visitors attention to share messages, content or to add a call to action like a Subscribe by Email form.
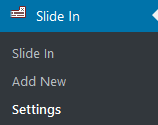
After activating the Slide-In plugin in Plugins > All, you will see a new Slide In menu item added to your main navigation menu in your dashboard.
Create Text Message Slide-In
You create a text message slide in as follows:
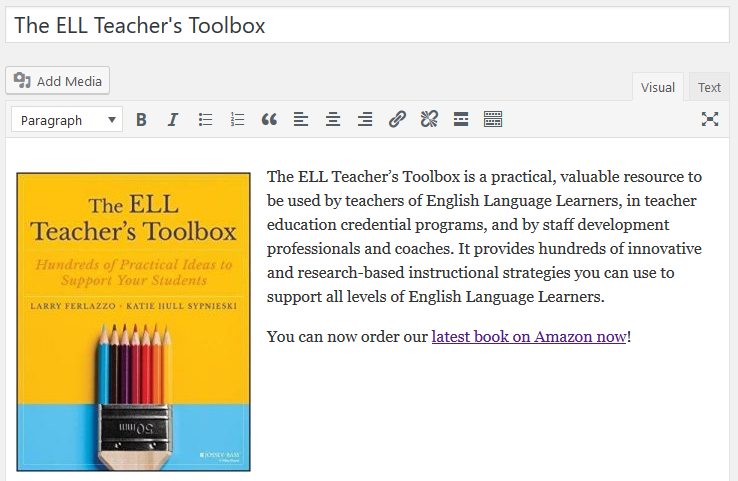
1. Go to Slide In > Add New
2. Add your Title and the message you want to display in the Slide In.
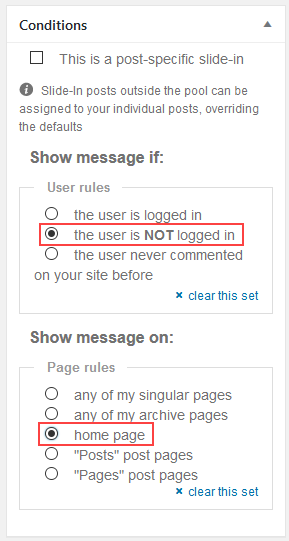
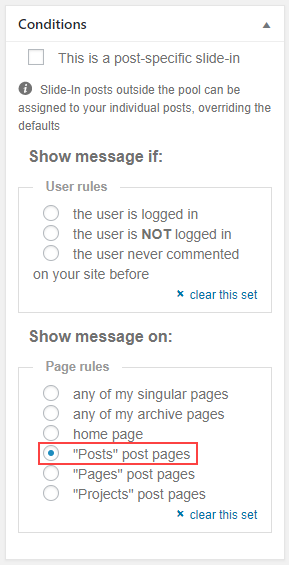
3. By default, the Slide In displays for logged in and logged out users on all pages. Use the options in the Conditions module if you want to select who sees the message and where you want the message to show.
In the example below the Slide In is displayed to logged out users on the homepage only.
4. Click Publish.
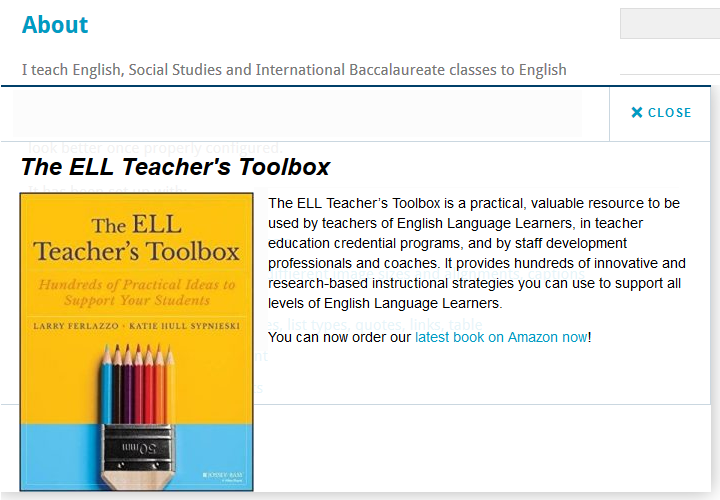
5. When you view the front end of your site you should see the Slide In appear as you scroll down the page.
Other Slide In Content Types
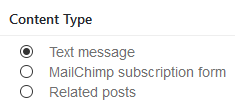
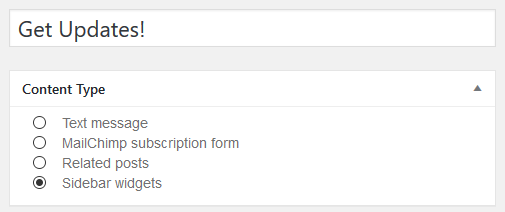
The Content Type module controls what goes in your Slide In.
MailChimp Subscription Form Slide In
The MailChimp Subscription form allows you to connect to your MailChimp account to display a Slide In to subscribe to your MailChimp list.

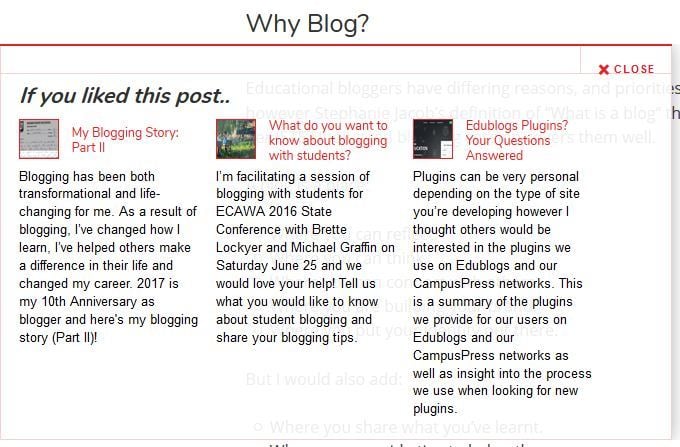
Related Posts Slide In
Related posts uses WordPress’s default tagging system to pull in posts and looks something like this:
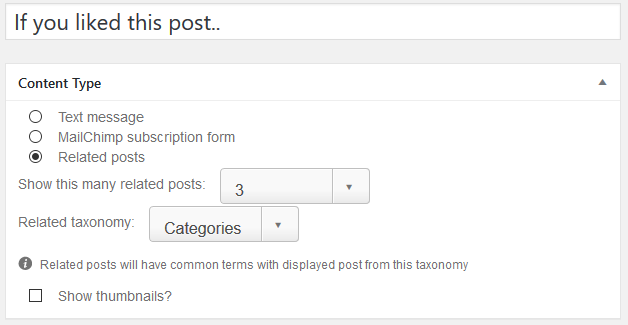
You create a related posts slide in as follows:
1. Select Related Posts in the Content Type module then choose the number of posts to show, select the Related taxonomy, select whether to display a thumbnail or not and add the title.
2. Select “Posts” post page in the conditions module so the Slide In only displays on a post page.
3. Click Publish.
Sidebar Widgets Slide In
You can add a widget like the Subscribe by Email widget to a Slide In as follows:
1. Go to Slide In > Settings
2. Scroll down to Advanced and select Allow widgets.

3. Click Save Changes.
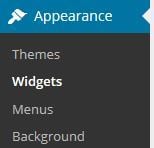
4. Go to Appearance > Widgets
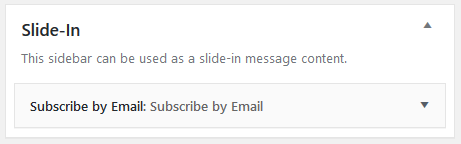
5. Add the widgets you want added into the Slide-in Sidebar.
6. Go to Slide In > Add New
7. Select Sidebar widgets in the Content Types Module and add your title.
8. Click Publish.
9. When you view the front end of your site you should see the Slide In appear as you scroll down the page.
Global Settings
The Global settings apply to all Slide Ins unless overridden using the Override Global Settings option when creating a slide in. Global settings are changed in Slide In > Settings.
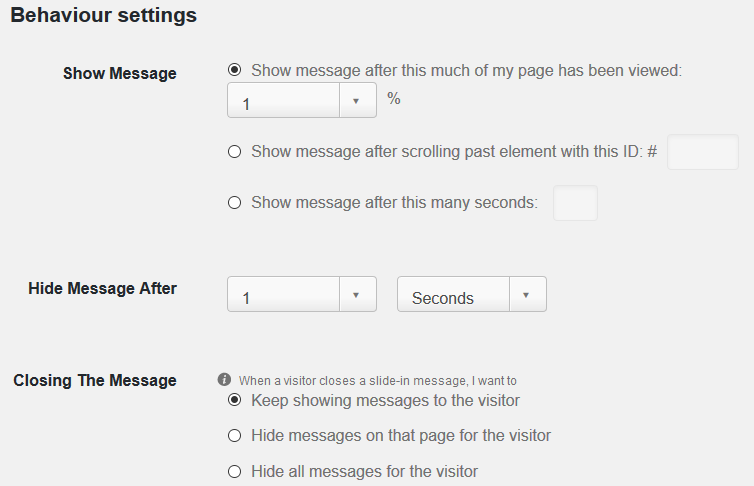
Behavioural settings
Used to control at what point on a page a Slide In is shown, how long it displays and what happens to the Slide In once a visitor closes it.
Appearance Settings
Controls the appearance of the message.
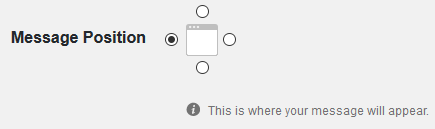
By default, the message position is left and the Slide In appears from the left on the page.
Message position can be changed to:
- Slide In from top
- Slide In from right
- Slide In from bottom
By default, the message displays across the full width of the site.

You change width by unselecting Full Width and adding the Message width.

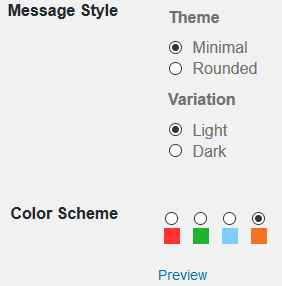
Message style and Color scheme are used to change the look and appearance of the message.
Social Media Services allow you to add social share options to your slide in for your visitors to share the message with their social network.