User reports allow you to run reports on all your users or a specific user.
With user reports you can:
- Monitor your students progress by downloading lists of all the posts or comments made by every student or a specific student.
- Generate your student user list as a spreadsheet.
Post Report
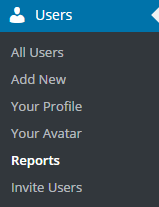
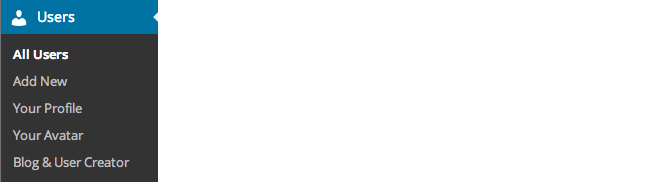
1. Go to Users > Report (or My Class > Reports)
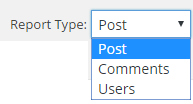
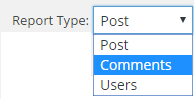
2. Select Posts from the Report type dropdown menu.
3. Select which blogs you want searched from the Blogs dropdown menu.
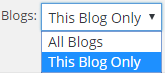
“All Blogs” searches posts on all blogs you are attached to as either a teacher user or an administrator and searches for posts by every username listed in Users > All Users of the blog you run the search on.
On a class blog with My Class set up, it’ll find the posts by all student users on every student blog.
4. Select the year and month.
5. Click Create to run the report.

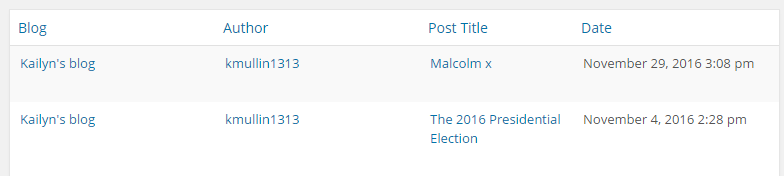
6. The post report data lists the blog title, the author’s name, the post title and the date/time published.
7. Click on View underneath the post title to read the post.

8. Click on Report under an Author’s name to view all posts published by that user.
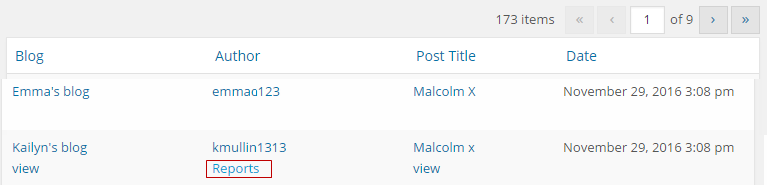
9. You’ll now see all posts published by that user for that time period.
10. Click on reset to return to the entire users’ post report list.

11. Click on CSV to download the post report data as a spreadsheet.

Comment Report
1. Go to Users > Report (or My Class > Reports)
2. Select Comments from the Report type dropdown menu.
3. Select which blogs you want searched from the Blogs dropdown menu.
“All Blogs” searches comments on all blogs you are attached to as either a teacher user or an administrator and searches for comments by every username listed in Users > All Users of the blog you run the search on.
On a class blog with My Class set up it’ll find the comments by all student users on every student blog.
4. Select the year and month.
5. Click Create to run the report.
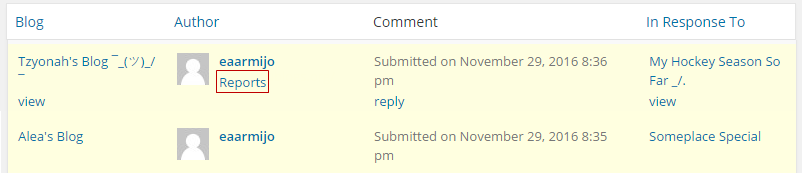
6. The comments report data lists the blog title, the author’s name, the date/time comment submitted and the title of the post it was in response to.
7. Click on View underneath the In Response To to read the comment.
- Yellow highlight indicates the comment hasn’t been approved and is in the pending comment moderation queue.
8. Click on Report under an Author’s name to view all comments published by that user.
9. You’ll now see all comments published by that user for that time period.
10. Click on reset to return to the entire users’ comment report list.

11. Click on CSV to download the comment report data as a spreadsheet.

User list
You can download a list of all users attached to your blog as follows:
1. Go to Users > Report (or My Class > Reports)
2. Select User from the Report type dropdown menu.
3. Click Create.

4. The page will reload with a list of your users, their usernames and email addresses.
5. Click on CSV to download your user list as a spreadsheet.

6. Open the CSV file using your spreadsheet software.

If you’ve using My Class, and your students are using our no email option (which looks like this no_email+0875997001441971088@edublogs.org ), you can reset their passwords yourself and record their passwords in the spreadsheet:
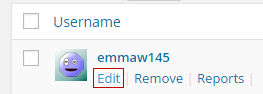
1. Go to Users > All Users in the class blog.
2. Click the Edit link underneath the username that you want to reset the password for.
3. Scroll down the page and click on Generate Password.

4. You can choose to keep the automatically generated password or replace it with your own password.

5. Click Update User.
Please note:
- You can’t reset the passwords of any user using their own email address.
- These users need to reset their own password using the lost password link with their email address.
- Contact Edublogs support if you want to change your student email addresses to our no email option so you can reset their passwords yourself.