The wiki feature lets you make as many wiki pages on your blog as you’d like!
Once added to your blog, users you have given permission can easily edit everything on the page without ever visiting the dashboard!
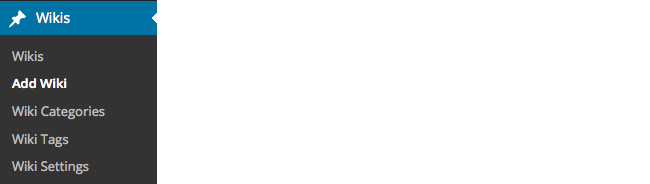
After activating the Wiki plugin in Plugins > All, you will see a new Wiki menu item added to your main navigation.
Adding a wiki
Creating a new wiki is just like creating a new post on your blog:
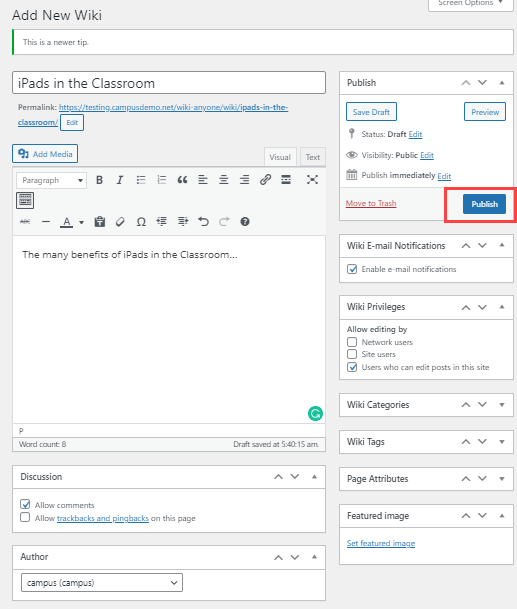
1. Go to Wikis > Add Wiki in your dashboard.
2. Give your wiki page a title.
3. Type in the content you want to start with.
This can be changed on the front end of your blog at any time later.
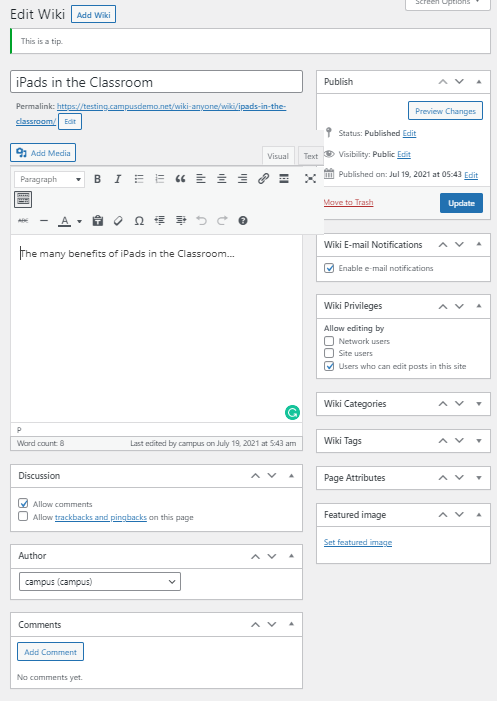
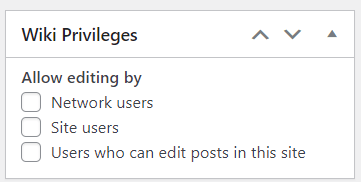
4. Choose who you want to be able to edit from the list in the Wiki Privileges module:
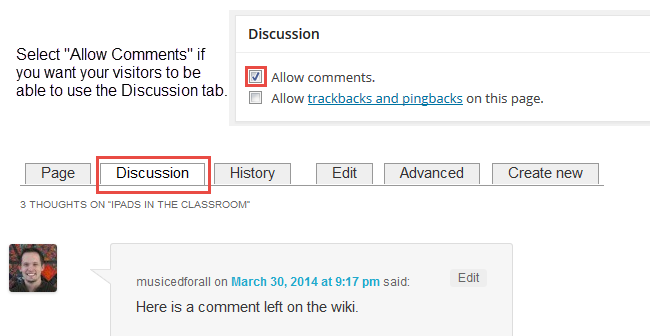
5. Decide if you want people to be able to discuss the wiki page using the Discussion tab on your wiki by either selecting or deselecting ‘Allow Comments’ in the Discussion module.
6. Decide if you want to enable email notifications of updates on the wiki page.
Email notifications are used to provide updates on when changes are made to the wiki page.

7. Click on Publish in the upper right corner.
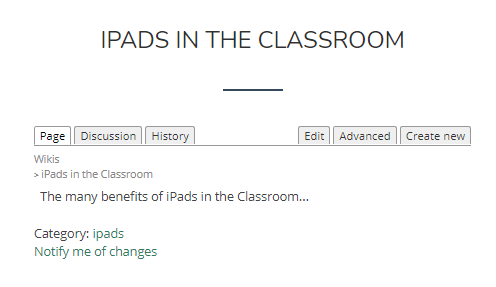
8. When you click View Wiki you’ll see your new Wiki complete with:
- All the standard wiki-type features.
- Ability to edit the front end without having to access the WordPress admin dashboard.

Email support if you see a ‘Page can’t be found’ error message when viewing your wiki.
Using the wiki front end editor
Your new created Wiki comes complete with:
- All the standard wiki type features
- Ability to edit the front end without having to access the WordPress admin dashboard.
Editing a page
1. Editing a page is as easy as clicking on Edit.
2. This opens up the front-end editor for quick editing of the wiki page.
- The front-end editor lets up apply simple editing to your text.
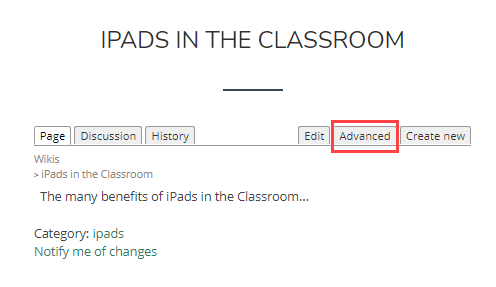
- For more advanced editing, and to upload images or media to your wiki page, you just need to click the Advanced link which will open it up inside your dashboard where you can use the more advanced Visual Editor.
- Only people who can edit posts will see the Advanced link.
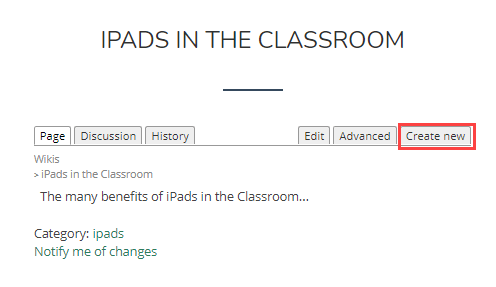
3. Clicking on Create New allows you to create a new page for your wiki using the front end editor.
4.Clicking on Advanced takes you to the Advanced editor in the WordPress admin dashboard.
Only people who can edit posts will see the Advanced link.
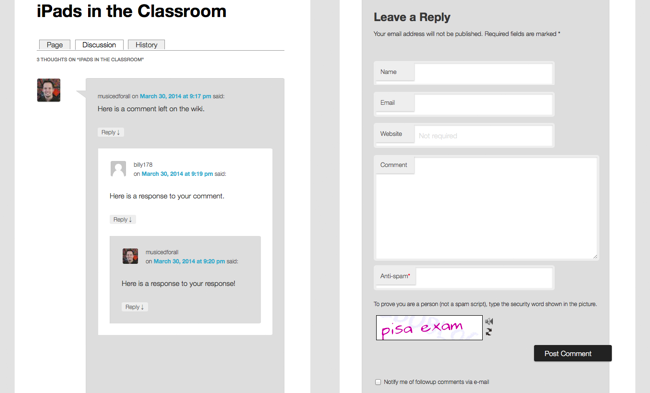
Providing Feedback
Clicking on Discussion takes you to the discussion tab where feedback or thoughts can be shared.
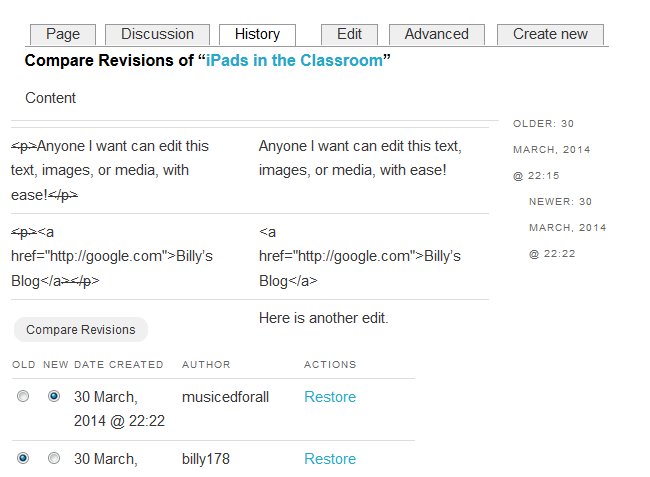
Comparing Page History
Clicking on History opens up the History page where you can quickly compare revision history.
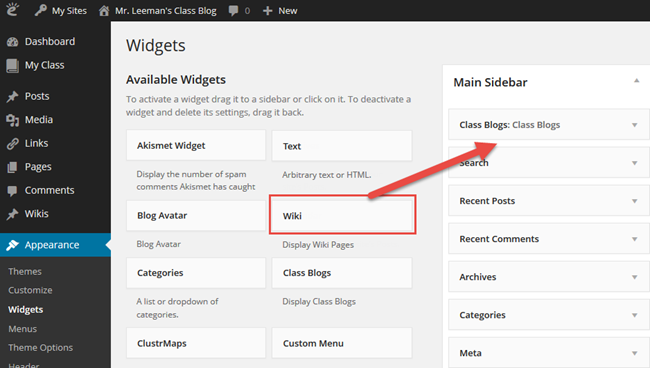
1. Go to Appearance > Widgets in your dashboard.
2. Add the Wiki widget to the desired sidebar and configure as desired.
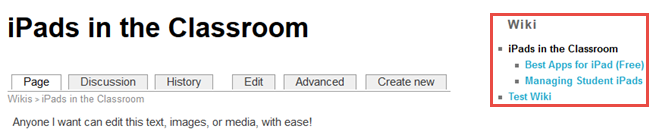
3. When you view your wiki you’ll see your wiki pages listed in the sidebar.
4. Alternatively, you can create a custom navigation menu to add links to your wiki in your top navigation (via Appearance > Menu).