These instructions refer to the classic editor. If you are using the block editor, please see this guide.
When you insert images into your post or page, you can change their alignment to center the image or use left or right alignment to text wrap around the image to make it look more visually appealing.
You can do this by selecting your image alignment before inserting the image into your post / page or by using the left, center or right alignments buttons after adding the image into the post.
Tips for aligning images
- It is better to resize your image to 150-300 pixels wide, or to 450-650 pixels wide if you want to center your image, before uploading and then insert the full size image into your post / page.
- If you want your images to appear side by side on the same line it is better to insert them as an image gallery.
Add Media alignment options
1. Place your cursor where you want the image to appear.
2. Click on the Add Media button.

Learn more about adding images here.
3. Edit the image attachment details and select the alignment (none, left, center, right).

- Title: The title displays on the image attachment page.
- Caption: Image caption displayed directly below the image.
- Alt Text: The text displayed when image is not available.
- Description: Displayed on the image attachment page.
- Alignment: The position of the image in your post or page. Options are: None; Left, Center or Right.
- Link to: The URL to which the image is linked to. Choices are:
- None – removes link completely.
- Media File – links the image to its original full size version.
- Attachment page – links image to its attachment page
- Custom URL – allows you to link image to custom URL, For example, handy if you want to link an image to another website.
- Size: The size of the image. Choices are thumbnail, medium, large and full size.
4. Click Insert into Post once you’ve edited the image attachment details.
5. Your image will appear in your editor aligned as specified in the attachment details area.
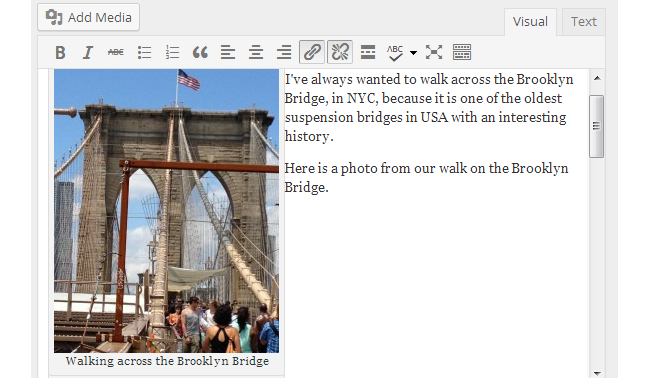
You can also align your images after they’ve been inserted into your editor. Click on the image once and then click on an alignment button to change the alignment of your image.
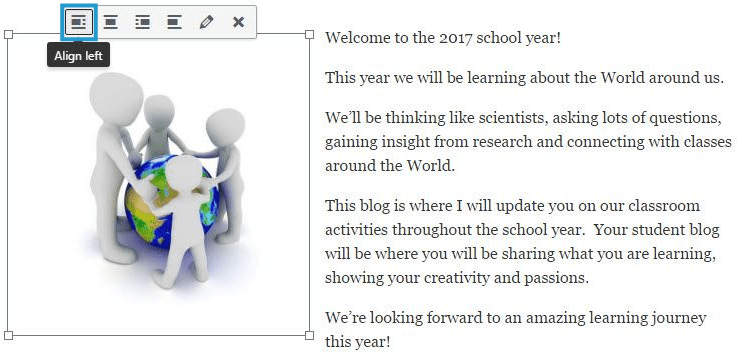
Left Alignment
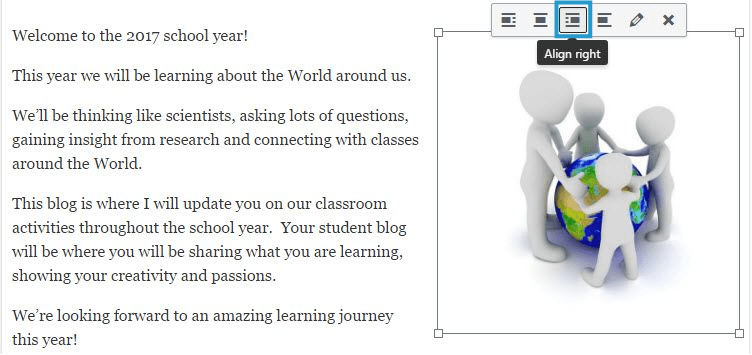
Right Alignment
Center Alignment

Side by side
If you want images to appear side by side on the same line, give them all None alignment and make sure the images are small enough to fit in the one line. The alternative option is to insert them as an image gallery.