Formidable Forms plugin
Formidable Forms is a powerful plugin which allows you to easily create forms of all shapes and sizes – and so much more.
After activating the Formidable plugin in Plugins > All, you will see a new Formidable menu item added to your main navigation.

Please contact Edublogs support if you don’t see the Formidable menu item.
Edit Contact Form
The easiest way to see how Formidable Forms works is to Edit the existing contact form.
1. Go to Formidable > Forms.
2. Click on the Edit link under Contact Us form.

3. This opens up the form builder.
In the build tab the list of field types you can add to your form are listed on the left and the current form fields are shown on the right.

Hovering your mouse over a field brings up additional action menu options:
- Move field – used to change the location of a field in the form.
- Delete field – removes the field from the form. For example, the contact form has a field for Name (First) and Last (Last). You could use Delete Field to remove Last name field then edit the description on the Name field to change it from First to your full name.
- Duplicate field – used to create a duplicate copy of the field. For example, you could duplicate the email field to add an extra email field and then edit the description on the second email field to change it to alternative email address.
- Field Settings – This opens up the Fields Option section in the left navigation area and various options.

Clicking on a field opens up the field options on the left where you can edit the field title, mark a field as required (or not required), field description and access the field options (used for advanced field customization).
For example, if you didn’t want the person to have to enter their name to submit the form you would uncheck Required in the field option.

You add extra fields to the form by drag and dropping the new field onto your form from the Fields list on the left side. Refer to Formidable Forms field type support documentation to learn more about fields.
For example, you might want visitors to upload at least one file with your form by adding a file upload field to your form.
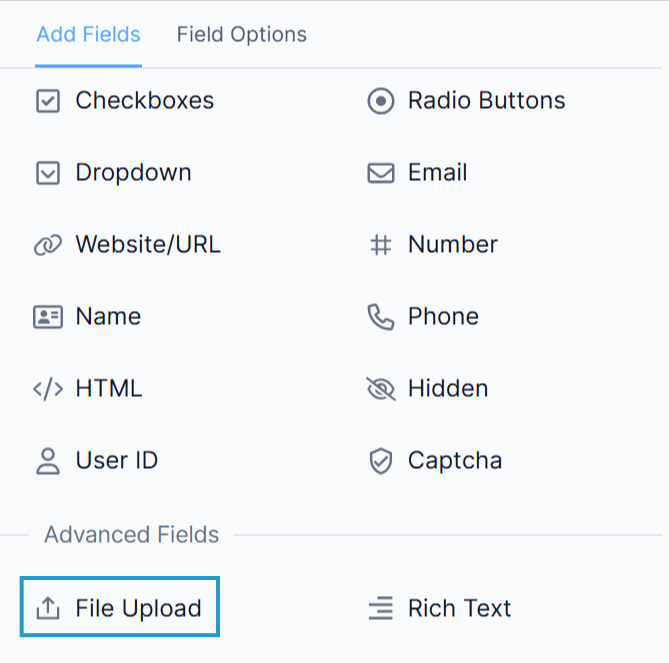
You can also select the type of files they are allowed to upload.

Click Update each time you make a change to your form.
Email notifications
The contact form is set up to send a notification email when a form is submitted. By default, the email is sent to the address listed in Settings > General.
You can add the email address as follows:
1. Click on the Settings tab.

2. Click on Actions & Forms.
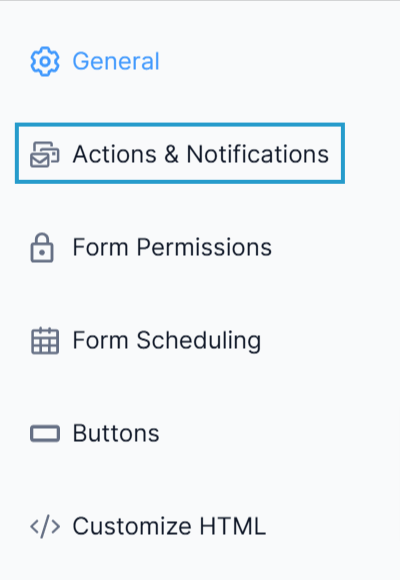
3. Click on Email Notification.

4. Add the email address(es).
- This only needs to be changed if you want to use a different email address from what is listed in Settings > General or if you want to send the form notification to multiple people.

5. Click Update.
Refer to the following support documentation for more information:
ADD FORM TO A PAGE
How you add a form depends on if you are using the classic editor or block editor.
Classic Editor
Click on the Formidable button in the classic editor to add your form to a page.
1. Go to Pages > Add New.

2. Add your page title and your content.

3. Place your cursor where you want the form to appear and then click on the Formidable icon.

4. In the Formidable window select the form you want to insert, select your preferred options and click Insert into Post.

5. You will now see the Formidable forms shortcode added to your page. Shortcode is a WordPress-specific code that enables you to do things that normally would require lots of complicated, ugly code.

6. Click Publish.
7. When you view the page on your blog you will now see your form embedded.
8. Remember to test the form to confirm it is working.
Block Editor
In Block Editor you add the form to your page using a formidable forms block.
1. To add a new block you click on the + icon of any empty block or at the top left of the editor and search for the Formidable Forms block.
2. Select a form from the drop-down.

ADD FORM TO SIDEBAR
You can also add your form to your sidebar as follows:
1. Go to Appearance > Widgets

2. Search for Formidable Forms and select widget
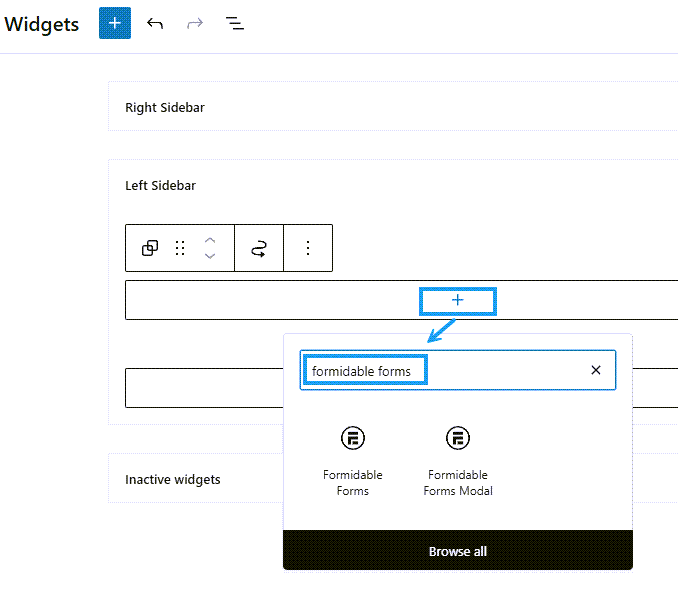
3. Select Contact Us from the drop down menu under Forms and then click Save.

4. When you view your sidebar you will now see your form embedded.
5. Remember to test the form to confirm it is working.
Form Entries
All saved form submissions are listed in Formidable > Entries. This includes Drafts and Submitted forms.
On Form Entries page you can:
- View, delete, print, duplicate or edit Entries.
- Leave comments on each Entry
- Resend notification email(s)
Form View
Any data submitted in a formidable form can be displayed in a page or post on your site using Views.
Make sure the View you are creating is for the specific form you intend to display the Entries for. There are four types to choose from in the View Format:
- All Entries — list all entries in the specified form.
- Single Entry — display one entry.
- Both (Dynamic) — list the entries that will link to a single entry page.
- Calendar — insert entries into a calendar.
You have to build your view starting with the Content area by using the field IDs or Keys of your form. They are all shown on the right panel under Customization. In case Single Entry Format is selected, you will have to use a combination of the Order and Filter advanced settings to determine which entry will display in the View.
Formats All Entries, Both (Dynamic) and Calendar will have Before and After sections. These boxes are optional, but the Before Content section is a good place to put table headers or other content that should not repeat with each entry. The After Content section is a good place to put table footers or other content that should not repeat with each entry.
For more information on form views refer to the following support documentation: Views
When all is set, you will want to add your view to a Page or Post. The process is similar to adding the Form itself.
Classic Editor
Click on Formidable forms button in the classic editor, select View from the left menu, select the View title and options, then Insert into Post.
Block Editor
In Block Editor you add the views to your page using a formidable views block.
Form Styles
Formidable > Styles is where you can change the appearance of fields, buttons, messages or titles. You might want to use these settings to match the fonts or colors of your theme, for example.
Import and Export
Follow the instructions below to import forms, entries, and/or Views as an XML or CSV file.
If your imported form/entry/view/style key and creation date match an item on your site, that item will be updated. You cannot undo this action.
- Go to your Formidable → Import/Export page.
- In the Import section, select an XML or CSV file to upload.
- If the file is a CSV, select your delimiter (often a comma) and the form where you would like to import the entries.
- Click Upload File and Import.
- For CSV you will have an additional step with the Map Fields section, where you will see a column for the headers in your CSV, one for sample data from your CSV, and one for selecting which fields the CSV columns will go into. Map each column to the corresponding field. If you would like to update existing entries instead of importing new entries, you must map the Entry ID field to an Entry ID column in your CSV. If the entry ID in the CSV matches an entry ID in the form, the entry will be updated. Otherwise, a new entry will be created.
For exporting you should typically select ‘XML’ for the Export Format. However, if you only want to export entries, it’s better to select ‘CSV’ instead. Exporting entries as a CSV file is especially helpful if you want to modify the exported data or import it into an application like Excel.
If you select ‘CSV’ as the file type, it is recommended to select ‘UTF-8’ as the encoding type.
Creative Ways to use Formidable Forms
Formidable forms can be used for a wide range of purposes. Check out these Demos to how you can use Formidable to create job listings, directory, calendar, art gallery, bug reports.
Our example below shows how to create a new form for students to submit an image of their art work that is displayed as a page in a grid showcase.
1. Go to Formidable > Forms.

2. Click on Add New.

3. Click on Create a Blank Form.

4. Click or Drag your field types from the sidebar to add them to your form.
Fields used for this example are:
- Student name (Text field – Required)
- Grade (Dropdown field)
- Artwork name (Text field – Required)
- Artwork Image (File Upload field – Required)
- Artwork description (Paragraph field)
- An additional image of your artwork (File upload).

5. Click on each field to open up the field option to customize each field.

Change the field label to “Student Name” and select “Required”.

For the dropdown field, you would add the field label Grade Level and the Grade dropdown options to select from.

For “Artwork Image (File Upload field – Required)” you would specify only allow image files so they can be displayed in the gallery, so make sure to only allow JPG, JPEG, JPE, or PNG files and limit it to one file.

6. Once your fields are added, click “Save”. Give your form a name, for example, “Student art submission” and click “Save”.

7. Click on Views tab.

8. Click on Add New.

9. Choose your View Type (Grid, Calendar, Table, Classic, Ready Made Solutions) and add the title “Artwork gallery View”. For this example, we’ll be using the Classic view type.

10. Add the following customization to your Artwork gallery View and then click Publish.

- On the Listing Page in the Before Content box, add the following:
<ul class="student-art">
- In the Content box, add the following:
<li> <a href="[detaillink]"><img src="[e4qoe size=thumbnail]" alt="" /></a> </li>
- Replace e4qoe with the ID or Key of field “Artwork image”
- In the After Content box, add the following:
</ul> <div style="clear:both;"></div>
- In the Advanced Settings area, set the Page Size to 20.
- Click Publish or Update to save your View.
11. Go to Formidable > Styles > Custom CSS and add the following custom CSS.
.art-vote-links {margin-left:3px;} ul.student-art li { background-image:none !important; float:left; display:inline; box-shadow: 0 1px 2px rgba(34, 25, 25, 0.4); margin:5px 7px 10px 3px; padding:0; }
ul.student-art img{ width:250px; max-height: 150px; vertical-align: middle; opacity:1; -webkit-backface-visibility: hidden; backface-visibility: hidden; position:relative; }
ul.student-art img:hover{opacity:.6;} ul.student-art a, ul.student-art img{transition:all 0.3s ease 0s;} ul.student-art p a {color:#333333;} ul.student-art p a:hover{text-decoration:none;color:#298CBA;} ul.student-art p {margin:15px;color: #999999;} ul.student-art {clear:both;}
12. Go to Pages > Add New
13. Add your Artwork gallery view to a new page using the provided shortcode. Now all entries that are submitted to the “Student art submission” form will be displayed in a gallery on the page.

14. The Detail Page allows you to display the details of an individual entry when people click on an entry in the Listing Page. You can customize it as you see fit and here’s a basic representation of it for our example:

