Blog Avatar Widget
The Blog Avatar is used to display your avatar in the sidebar of your site.
Here’s what it looks like when it’s added to a sidebar.

Settings
Once you add the widget to your sidebar in Appearance > Widgets, you’ll see that the widget settings look like this:

There are no configuration options for this widget because it’s only intended to display your blog avatar in the sidebar.
Upload Blog Avatar
You upload your blog avatar as follows:
1. Resize your image to 200 pixels wide by 200 pixels high.
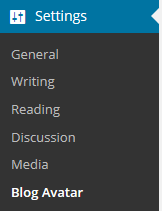
2. Go to Settings > Blog Avatar.
3. Click on Browse, select the avatar you want to upload and then click on Open.
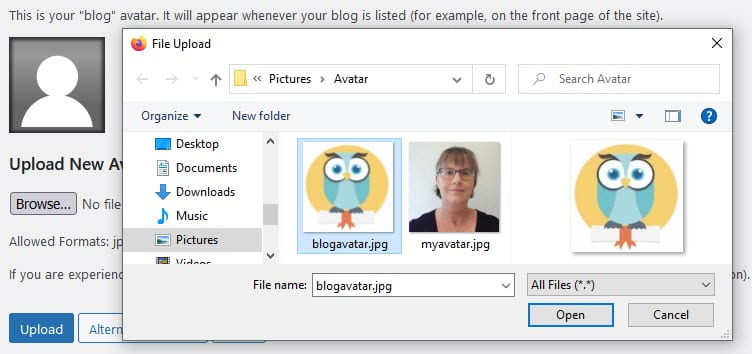
4. Click on Upload.

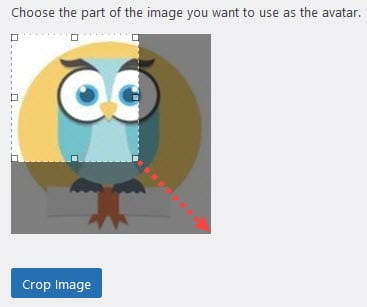
5. Expand the crop area to include your full image and click Crop image.
6. Go to Appearance > Widgets.
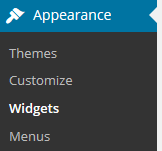
7. Drag the Blog Avatar widget from the Available Widgets into the desired Sidebar.
You drag by click on the widget with your left mouse and moving the widget.
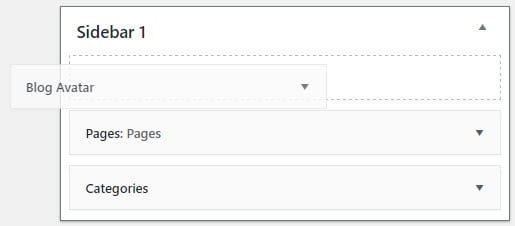
8. When you view your site you’ll now see your blog avatar displayed in the sidebar.