Edit published post
There are occasions where you’ll want to go back to a previously published posts to edit aspects such as correct spelling, grammatical errors, add updates, amend tags and categories.
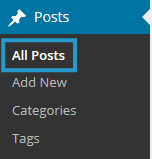
To locate the post you want to edit you use the Posts Screen by going to Posts > All Posts.
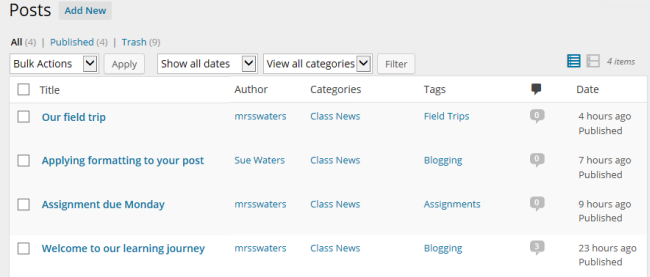
Overview of Your Posts Screen
This is the area in your administration panel where you see a listing of all the saved posts, 20 posts per page, that you’ve written on your blog.
In this screen you can search for posts by date, category and tag. Once posts are located you can either edit the posts or delete posts.
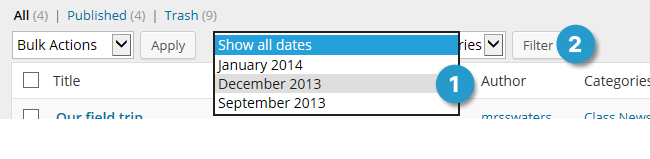
To locate all posts by date or category just:
- Select your desired date or category from the Show All dates drop down menu and/or View All Categories drop down menu.
- Click Filter
You can also choose to view all posts, only those that have been published, your drafts only or those that you have trashed by clicking on the All, Published, Draft or Trash links at the top of the screen.

Hovering your mouse over the title of a post brings up four action links:
Edit
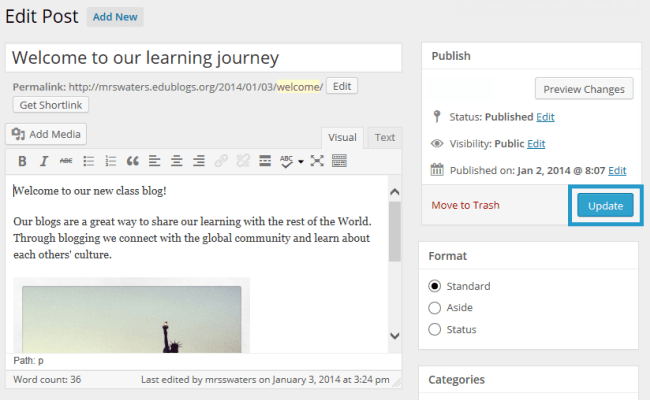
Clicking the action link Edit opens the post into full edit mode.

This is where you can edit the post to change the title or add more content. You can also configure post options such as password protect the post, add new categories, add tags, set a featured image and change publish status.
Once you’ve made the changes you just click Publish or Update.
Editing Posts Video
Quick Edit
Clicking the action link Quick Edit allows you to make quick changes without having to edit the full post.

Quick edit lets you configure features such as title, post status, password protect your post, make your post private, assign existing categories to your post, add new tags, enable/disable comments, change post author and make your post sticky.
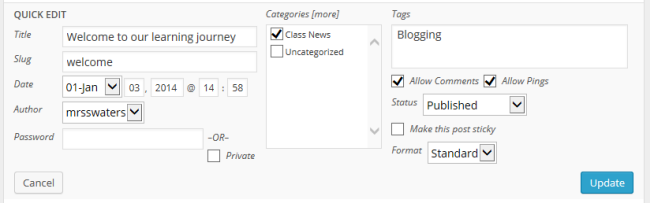
Once you’ve made the changes you just click Update.
Bulk Edit
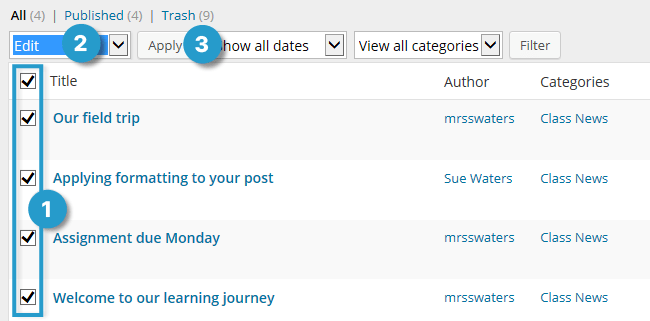
You can also bulk edit multiple pages using Edit in the bulk action menu at the same time.
This is as simple as:
- Select the posts you want to edit.
- Select Edit in the bulk actions drop down menu.
- Click Apply Button.
Bulk edit lets you configure features such as post status, assign existing categories, add new tags, enable/disable comments, change post author to multiple posts at the same time.
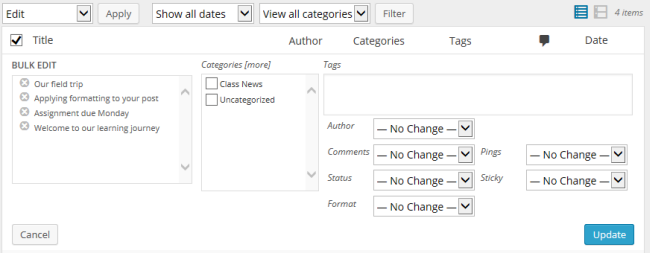
Once you’ve made the changes you just click Update.
Trash
Trash is used when you want to remove a post on your blog without permanently deleting it right away.

All items in your trash folder can be restored or permanently deleted within 30 days of the time you trashed them.
Trash Post Video
Bulk Trash
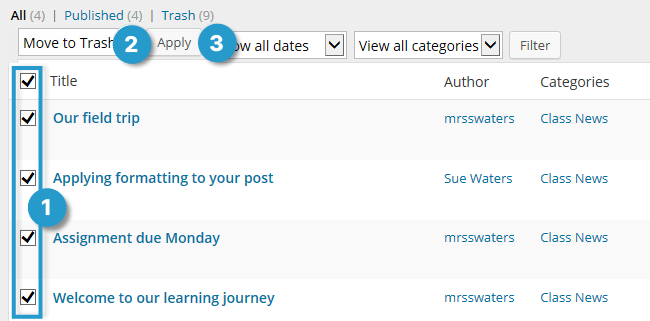
Trashing multiple posts at the same time is as simple as:
- Select the posts you want to trash.
- Select Move to Trash from bulk action drop down menu.
- Click Apply Button
Restore Post
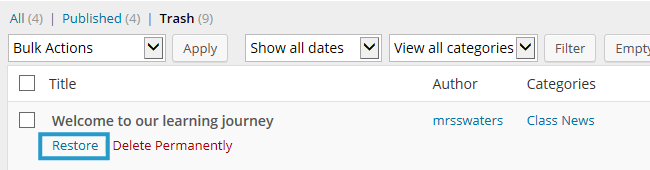
Restoring a post you have trashed is as simple as:
1. Click on the Trash link at the top of the Posts Screen to go to your Trash posts page.

2. Hover your mouse over the title of the post and click Restore.
Restore Post Video
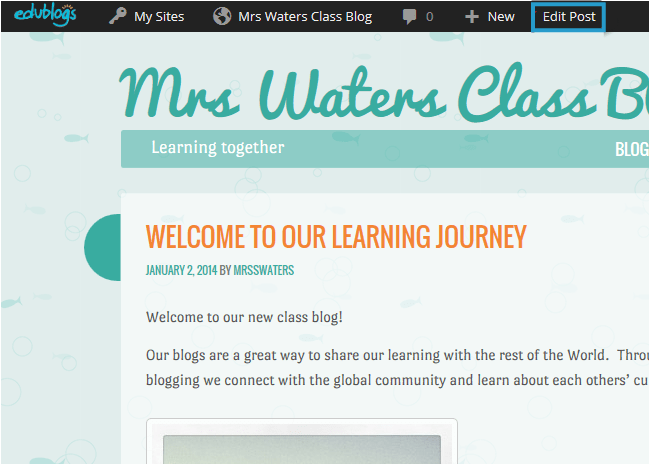
View
When you click on View it opens up the post on your blog so you can view the post.

To make edits just click on Edit Post in the admin bar at the top of your blog.