Invite Users
Invite Users allows you to invite users to your site so that you don’t need to create their accounts or add them as users.
How To Invite Users
1. Go to Users > Invite Users in your dashboard.

2. Add some text for your invite code. Keep it short.

3. Select the default role of the users that enter this code.
If you are using My Class you select the default role Student.
You can always change roles later and can create different codes for different permission levels.

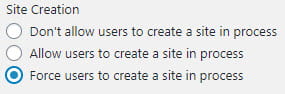
4. Decide if you want the user to be prompted to create their own site during the sign up process if they don’t already have one.
Select ‘force users to create a site in process’ if you are using My Class and want your students to create their own blog while signing up for their account. This creates their site and automatically attaches the site to the class blog.
5. Click the Add New Invite Code button.
6. You will now see an Invite Link.

The code has some numbers added to the front to ensure it is unique.
Share the Invite link with those you want to invite to your site.
Use Invite Link
Paste the Invite link URL in the address bar of your web browser.

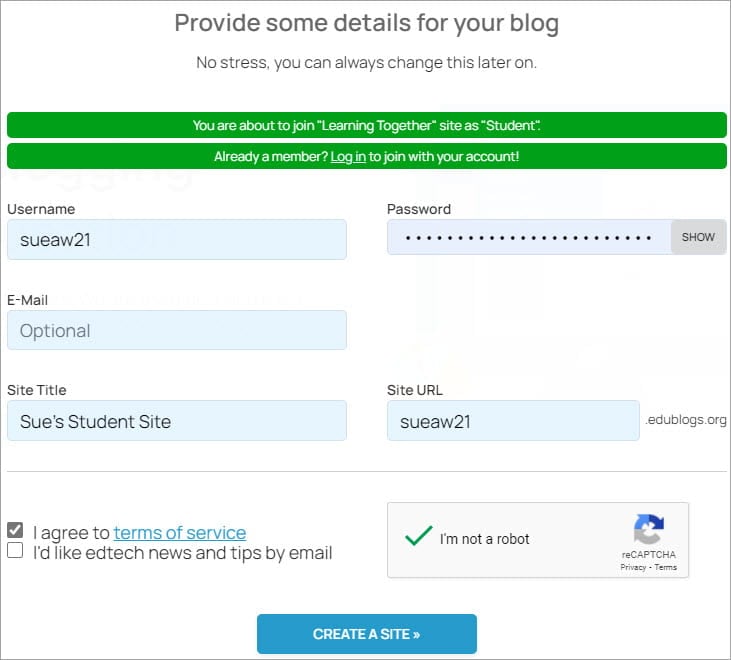
This loads the invite window in your browser. If you are an existing user, click on the Log in link in Already a member? Log in to join with your account.
To create a new user account you need to add your username, email address (optional for student), password, site title, site URL, select ‘I agree to terms of service, select “I am not a robot” and click Create a site or click Register Account.
You won’t see site title and site URL if the invite link doesn’t allow you to create a site.