Comments are enabled on posts by default and you can approve, delete or edit any comments left on your site.
You manage comments by going to Comments inside your dashboard.
Here’s where you see a listing of all comments, 20 posts per page, that have been submitted to your site.
Anatomy of a comment
Below is an example of a comment on the Comments page.

- Commenter’s avatar
- Commenter’s name
- Commenter’s email address
- Commenter’s IP address
- Name of person replying to (if the comment is added as a threaded comment)
- Post/page the comment was added to with the number of comments added shown below the View Post link
- Date and time comment added – based on time zone set in Settings > General.
Manage Comment Video
View comments
On the Comments page you can search for comments:
- By Comment type such as comments or pings (a ping is also called a pingback).
- By keyword such as author name or a specific words.

You can also choose to view:
- All comments
- Only those that have been approved
- Pending comments- those comments which are in the moderation queue and need to be approved by an administrator or editor before appearing on the site
- Those marked as spam
- Those sent to trash – automatically deleted after 30 days

The comment action links
Hovering your mouse over a comment brings up six action links beneath the comment text. You can approve/unapprove, reply, edit, spam, or trash comments with those links.
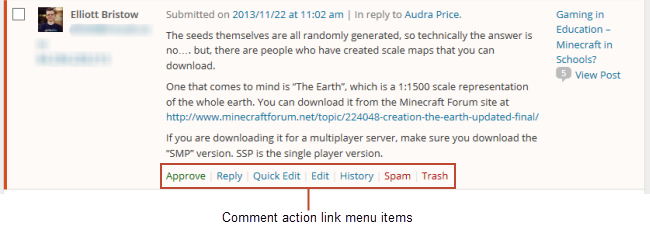
Here’s a summary of what each action link does:
- Approve/Unapprove –publishes the comment to your blog and changes the link to Unapprove. Clicking Unapprove removes the comment from your blog and puts the comment back in the moderation queue.
- Spam – removes the comment from your blog and places it in your spam folder. You can delete all spam using the Delete all spam when you are looking at your spam comments.
- Trash – removes the comment from your blog and sends it to your trash folder where it is automatically deleted after 30 days.
- Edit – opens the comment into full edit mode where you can edit content in any box. For example, remove a student’s surname, fix a blog URL or hyperlink, provide students help with spelling or grammatical areas. Once finished editing click Update Comment.
- Quick Edit – accomplishes the same as the Edit link except instead of taking you to a new Edit Comment page, it drops down a quick edit text box. Benefit is you can do a fast edit on the same page. If you double click on a comment it opens the comment into Quick Edit mode.
- Reply – drops down a quick text box on the same page to allow you to reply back to a comment right from the Comment page. This means you can reply here rather than directly on your blog.
Edit comment
Comments can be edited using the Edit or Quick Edit action link. Once you’ve finished editing the comment you click on Update Comment.
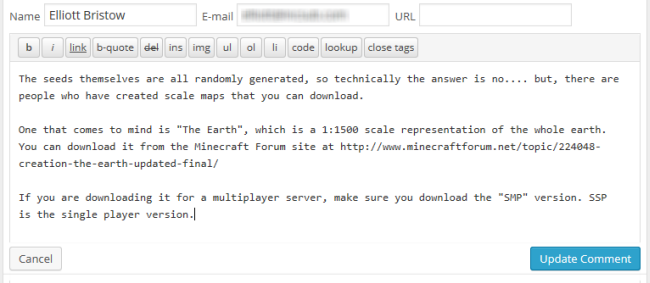
The Text Editor
The Edit Comment screen and Reply to Comment Screen uses a text editor. Unlike the visual editor, the text editor requires you to add any formatting such as bold, italics and links using HTML.
The text editor has some basic icons along the top which are used to quickly insert commonly used HTML elements into the text. The text editor is more useful for users who are comfortable writing HTML.

The icons more likely to be used by less experienced user are:
- B – bold text
- I – italics
- Link – add a link.
- Img – insert an image by linking to the image URL.
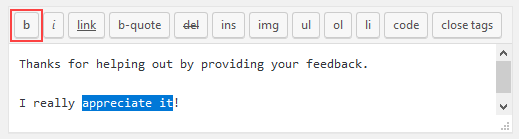
You bold text in a comment as follows:
1. Highlight the text you want to bold.
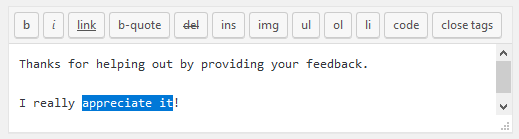
2. Click on the Bold icon.
3. Your text is enclosed in bold HTML code.
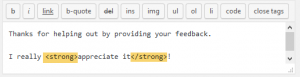
4. When you click Reply or Update the comment is saved and text will be bold.
