Adding categories to a post
Categories and tags on posts are used to help readers locate information in different ways.
Categories are like chapters of a book; they provide a general overview of the topics you blog about. Whereas tags are more like the index at the back of the book and explode the topic into a million bits.
On a post you can add as many tags and categories as you need to make the post easier to locate.
Categories are normally displayed at the top or bottom of posts and in your sidebar using the Category widget.
Example of categories and tags on the bottom of a post:

When your readers click on a categories link on a post or in your sidebar it loads a page with all posts that use that tag or category.
Categories don’t display in your category widget until the category has been assigned to a published post.
For more information between categories and tags please check out this support information.
Adding Categories via the Categories Module
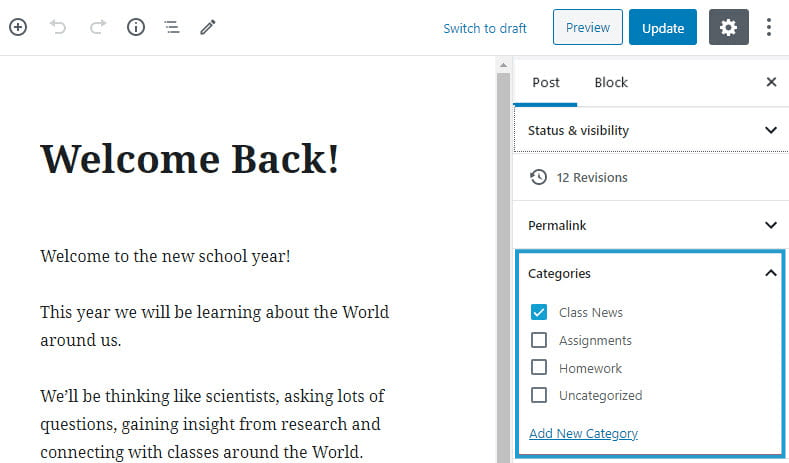
You normally add categories to posts before you publish them using the Categories module to the right of your post editor by selecting the checkbox next to a category you want to use.
If you are using the block editor you click on Post to access the Document Settings in the sidebar of the post editor.
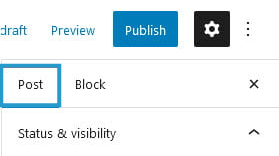
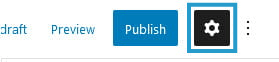
If you don’t see the Document settings, click on the cog next to Publish.
Then scroll down to the Category module to assign the category.
The Category module is located below the Publish module if you are using the classic editor.
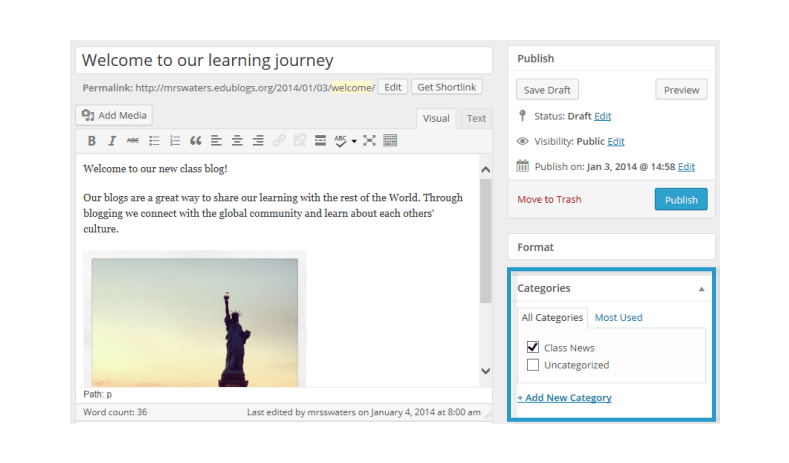
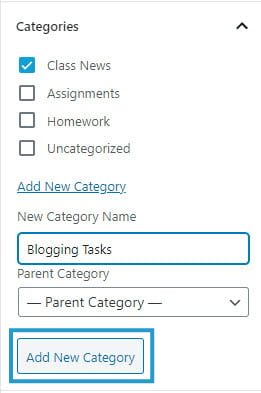
You create a new category by clicking on the Add New Category link, type your new Category in the Add New Category Text box and then click Add New Category.
You remove a category from a post by unchecking the checkbox to the left of that category.
Adding Categories using your All Posts page
You can quickly change categories assigned to posts by going to Posts > All Posts.
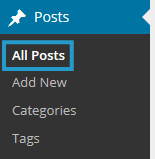
This is the area in your administration panel where you see a listing of all the saved posts, 20 posts per page, that you’ve written on your blog.
In this screen you can search for posts by date, category and tag.
Once posts are located you can use Quick Edit or Bulk Edit to change the categories assigned to posts.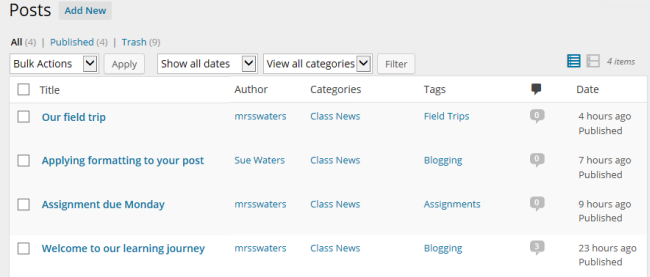
Using Quick Edit
You change categories using Quick Edit as follows:
1. Hover your mouse over the title of a post to bring up four action links.
2. Click on Quick Edit to open up the post in quick editing mode.

3. Uncheck the checkbox for any categories you want to remove from the post and check the checkbox for any categories you want to add to the post.
4. Click Update.

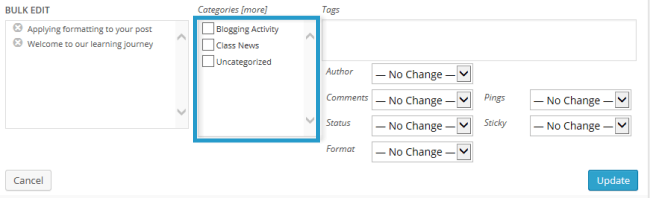
Using Bulk Edit
You can also bulk edit multiple posts to remove or add categories as follows:
1. Select the posts you want to edit.
2. Select Edit in the bulk actions drop down menu.
3. Click Apply button.
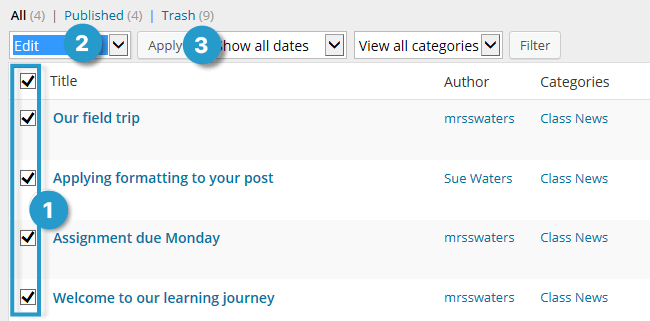
4. Uncheck the checkbox for any categories you want to remove from the post and check the checkbox for any categories you want to add to the post.
5. Click Update.
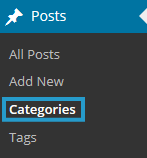
Create Categories using the Category Page
You can also create new Categories and manage existing categories using Posts > Categories.
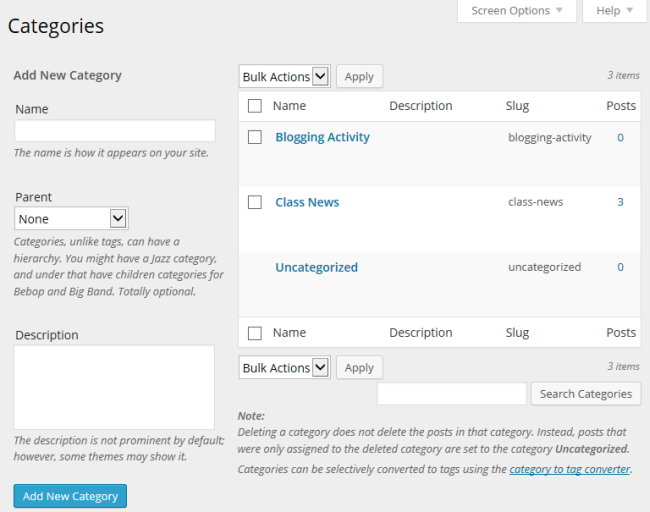
On this page you’ll see a list of your existing categories and an option to create new categories.
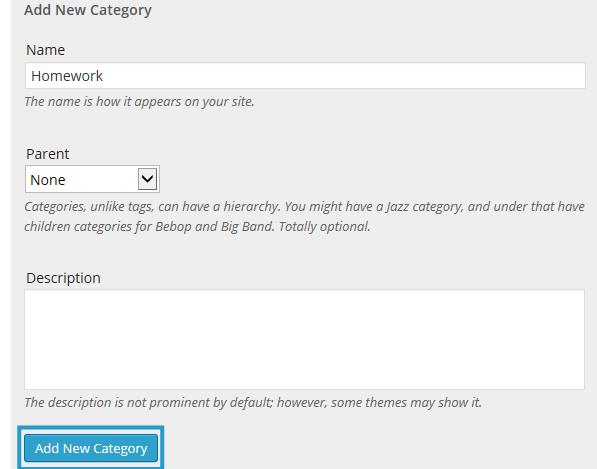
You create a new category using Add New Category as follows:
1. Type your new category in the Name text box.
2. Select the parent category if you want to nest a category within a category. Otherwise leave this as none.
3. Add a description for your category (optional). The description appears as a tooltip if you use the category widget.
4. Click Add New Category.
Categories don’t display in your category widget and aren’t listed in Appearance > Menu until the category has been assigned to a published post.
About Parent Categories
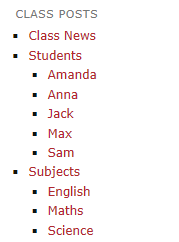
You use a parent category if you want to nest a category within a category.
For example, you might have Student as a parent category and then all Student names underneath. You might have another parent category for subjects and have all the subject names underneath.
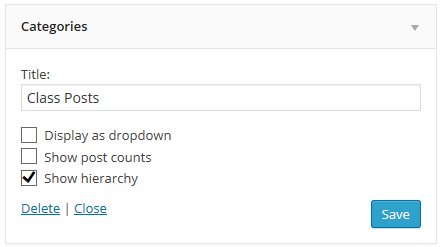
To display your parent and child categories you need to select Show hierarchy when you add the category widget to your sidebar in Appearance > Widgets.
Remember categories won’t display in your category widget or be listed in Appearance > Menu until the category has been assigned to a published post.
Manage Categories
The Posts > Categories page in your dashboard displays all your existing categories and shows the name, description, and number of posts belonging to each category.
If you hover your mouse over a category a set of options will appear, allowing you to edit, quick-edit, or delete that category:
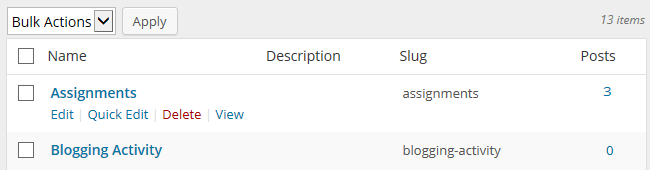
Here’s a summary of what each action link does:
- Edit – takes you to a separate page where you can edit the name, parent category and description.
- Quick Edit – opens up an edit box where you can rename the category.
- Delete – used to delete a category. When a category is deleted, all posts that were only in that category will be assigned to the default category (this is normally the uncategorized category).
- View – loads a page on your blog where you’ll see all the posts that use that category.
You can’t delete the default category.
Using Bulk Actions
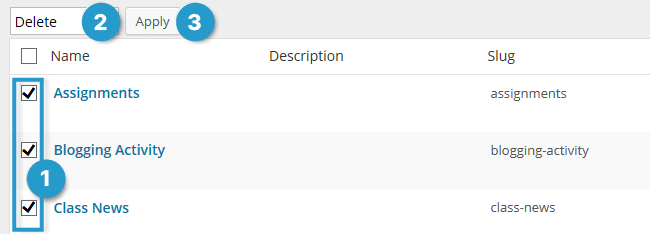
You can use the bulk action feature to bulk delete categories at the same time as follows:
1. Select the category you need to delete using the checkbox to the left of the category name.
2. Select Delete from Bulk Actions drop down menu.
3. Click Apply.
Setting the default category
The default category is assigned to publish posts if you don’t assign a category. The default category is normally uncategorized.
You can’t delete the default category but you can change which category is used as the default category in Settings > Writing.