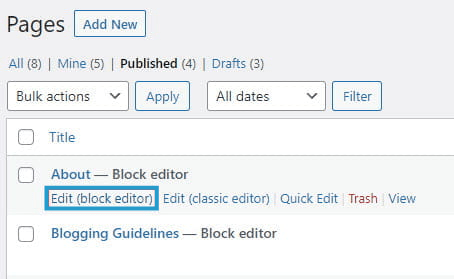
The Block Editor was launched in late 2018 and is a major change to the Classic Editor that WordPress users used previously.
The Block Editor, also known as Gutenberg, uses a totally different method by moving to a block-based approach and each item you add to your post or page is a block. You can add blocks for each paragraph, images, galleries, videos, audio, list, tables, and more.
Each block is its own entity that you can manipulate, move and edit. Since each block is separate you can add things like custom backgrounds or text to specific blocks. The block editor displays visual elements of how they look on your site.
The new Block Editor looks different from the Classic Editor but it does all the things you could do with the Classic Editor as well as allows you to build more complex designs than those achievable with the Classic Editor.
A list of blocks available as well as how to use them can be found here.
Switch Between Editors
You are currently able to switch between the two editors by going to Settings > Writing.
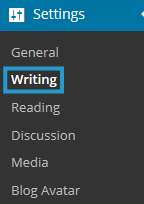
Select Block Editor or Classic Editor.

Click Save Changes.
By default, only admin users are able to switch between the classic editor and the block editor. If you want editors, authors, and contributors to switch between editors you need to select Yes.
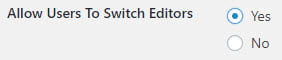
This adds an option to change the default editor to Profile > Your Profile for your other site users and all users will see an option to select which editor is used when they view their post or pages list in Posts > All Posts or Pages > All Pages.
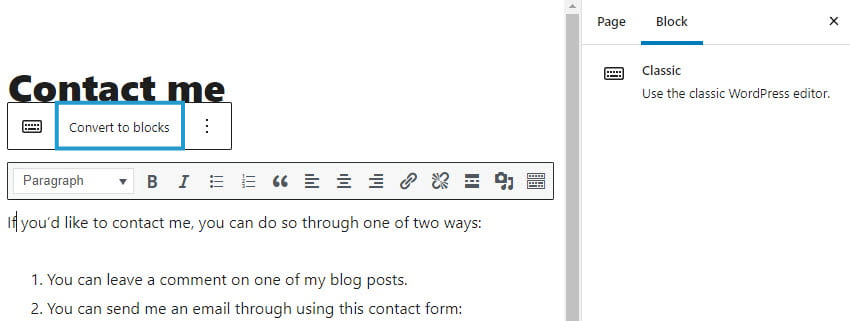
Content loads in a classic block when a post or page created using the classic editor is opened in the block editor. Select the classic block and then click on Convert to Blocks so you can edit your content using blocks.
By default, the block editor loads in fullscreen mode and this can be disabled to reveal the main navigation.
Block Editor Video
The following video introduces the WordPress block editor and shows how to add blocks, customize blocks, and re-arrange blocks.
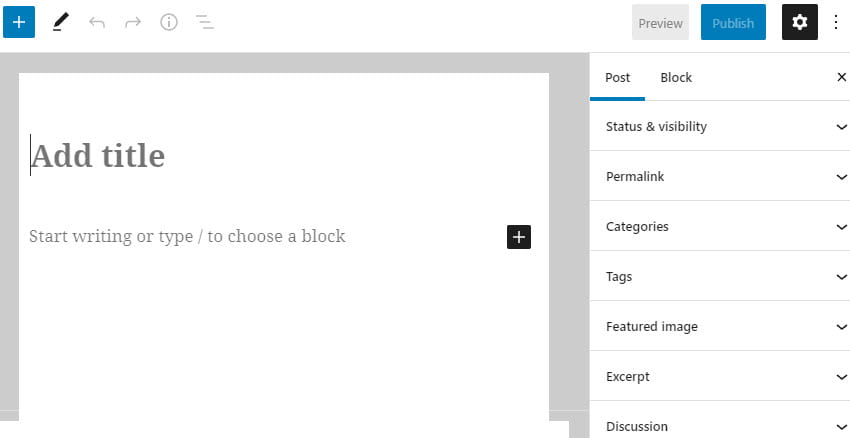
Block Editor Interface
Below is an overview of the elements of the block editor interface.
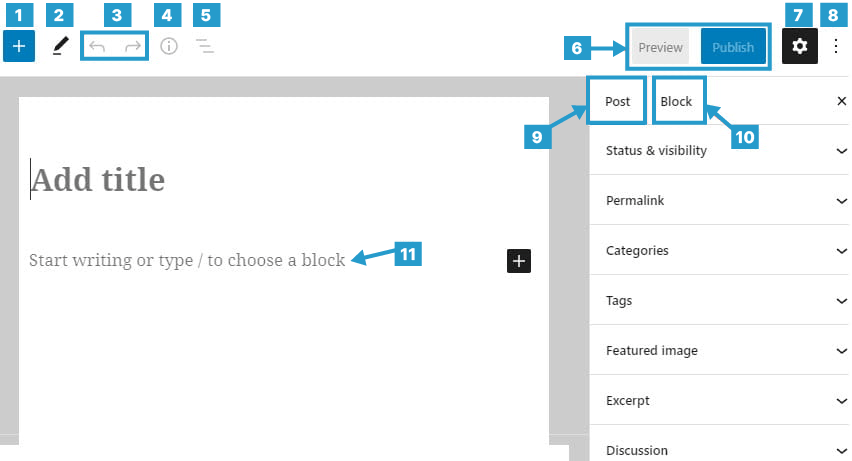
- Add new block
- Modes: offers different interactions for block selection and editing.
- Undo/Redo
- Content structure: overview of content structure in terms of the number of words, headings, paragraphs and blocks.
- Block Navigation: can be used to navigate between the different blocks.
- Preview/Publish: live preview your post or publish/update your post.
- Settings: hide/reveal editor’s right sidebar.
- Options: to show more view options, Editor style and additional tools. This is where you can turn off fullscreen mode and change between the visual editor and code editor.
- Document Settings: for adding things like categories, tags, featured images, excerpts for posts or page attributes for pages as well as change status and visibility. Similar to the sidebar of the Classic Editor.
- Block: access to additional settings options for the selected block.
- Area where you work on your post/page content.
Add a block
By default, the block underneath the post/page title is a paragraph block that you use for regular text and is designed to allow users to start writing straight away.
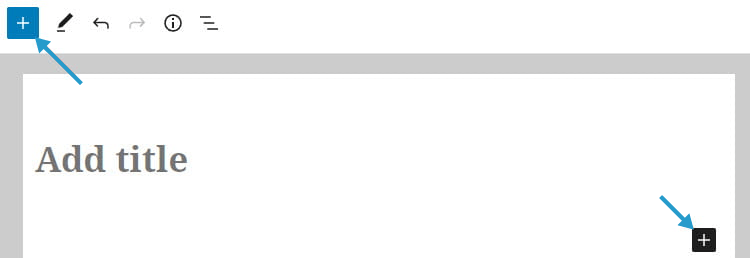
To add a new block you click on the + icon at the right of an empty block or at the top left of the editor.
Then click on the block for the type of content you want to add. For example, if you wanted to add a photo gallery you would click on the Gallery icon.
Blocks are organized with the Most Used displayed at the top if you access using the + icon at the right of an empty block. Search for the block you want to add or click on Browse all to view all block options.

An alternative method to quickly find a block, you can also search by typing / followed by the block name you are looking for, in any empty block. In the example below, we have typed /gallery which displays the Gallery block at the top of the selection as well as all related blocks.

You can add a block above or below the current block by clicking on the three dots on the block toolbar of the selected block and selecting Insert Before or Insert After.
Move a Block
You move a block by dragging the block around by clicking and holding the six-dot-grid near the top left corner of the block or using the up and down arrow to move the block in the direction you want.

Configure a Block
Each block has its own block-specific controls that allow you to change the block directly in the editor. You reveal the block’s toolbar by selecting the block.
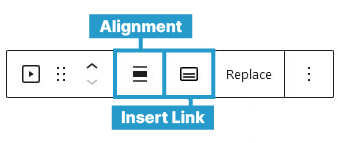
Below is an example of the Image block toolbar.
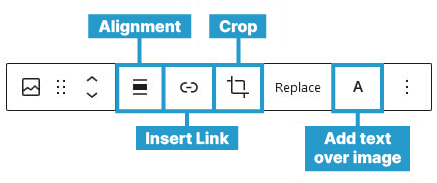
Toolbar varies depending on block type and has been streamlined to only include the formatting options required for the content type you’re adding/editing.
Below is an example of the Video block toolbar.
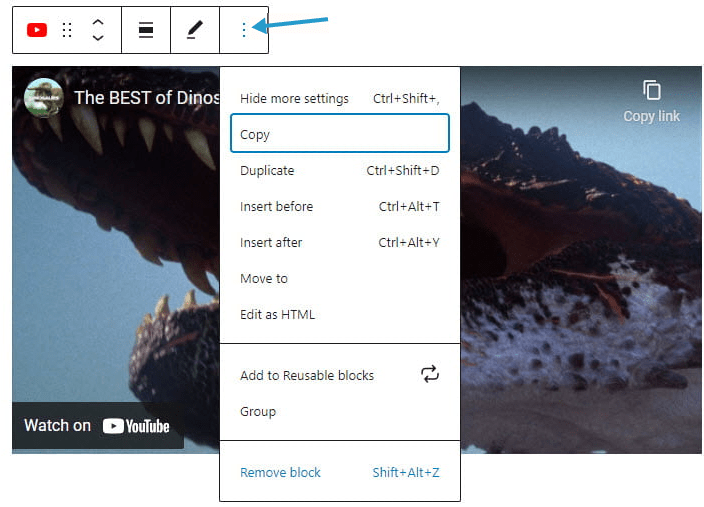
Block Settings – Toolbar
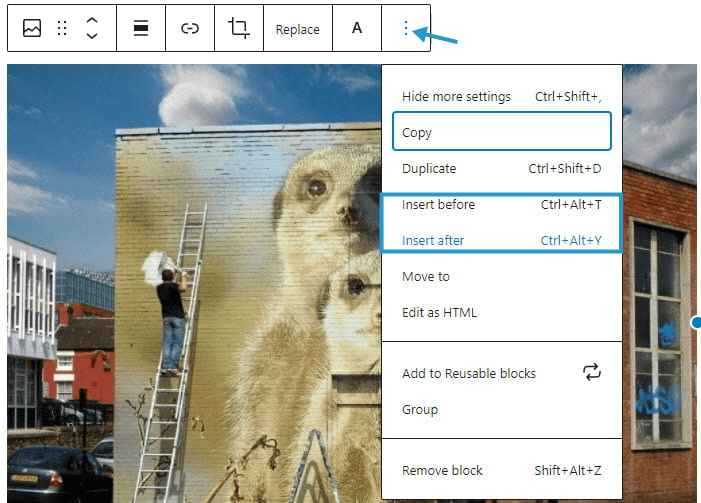
For additional options click on the three dots to the right of the block toolbar:
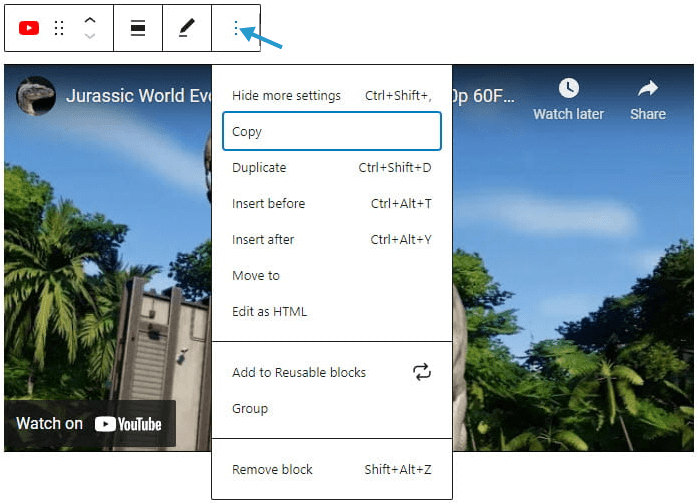
These settings will vary depending on the block you are editing. For this example, we are editing the YouTube block which has the following settings available:
- Hide More Settings: closes the settings menu.
- Copy: copies the block to clipboard.
- Duplicate: creates a second block on the same page with the same content.
- Insert Before/After: adds a new block before or after the current block.
- Edit as HTML: switches the block to the HTML version of it so you can edit the HTML directly. When editing as HTML, this option changes to Edit Visually.
- Add to Reusable Blocks: allows you to create a block that can be used on other pages that retains the content and styling of the block.
- Remove Block: deletes the block from your page/post.
Block Settings – Sidebar
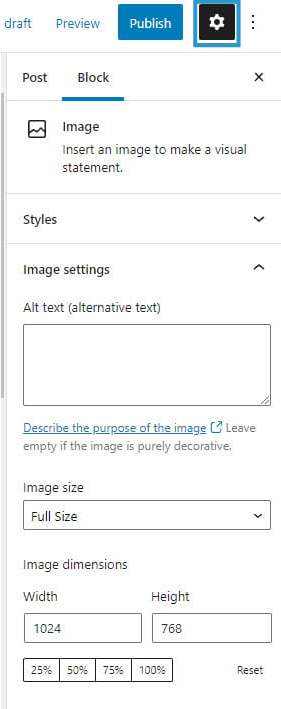
Each block has options in the editor sidebar that may provide extra customization in addition to the options found in the block toolbar. Click on the Settings icon next to the Publish/Update button if you don’t see the editor sidebar.
Below is an example of the Image block editor sidebar options.
Watch the following video to see how settings in the editor sidebar are used to change post and page settings such as status, visibility, add categories and tags, change page template and customize blocks.
Change Block Type
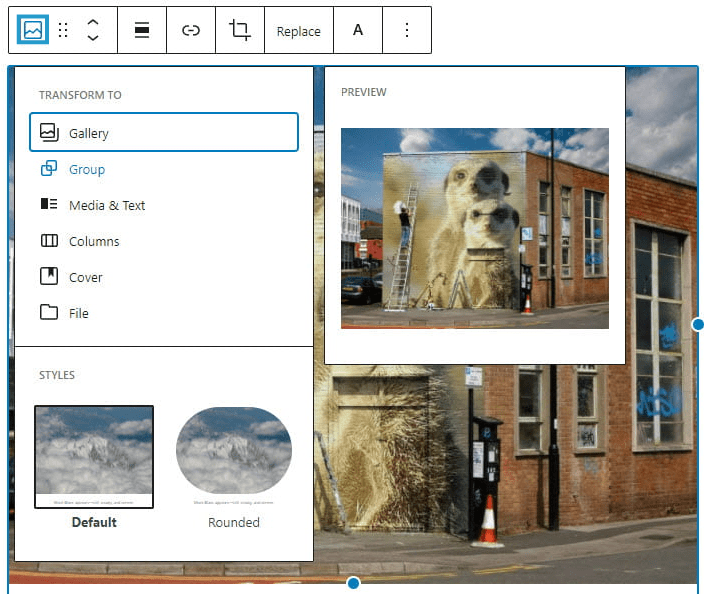
You can transform each block into another similar or related block type by clicking on the Change Block Type or Style icon in the block’s toolbar. The Change Block Type or Style icon is on the left-hand side of the toolbar.
For example, you can change from an Image Block to a Gallery block by clicking on the Change Block Type or Style icon and then click on the Gallery icon.
Remove a Block
Select a block, click on the three dots on the right of the block toolbar, and then click on Remove Block.
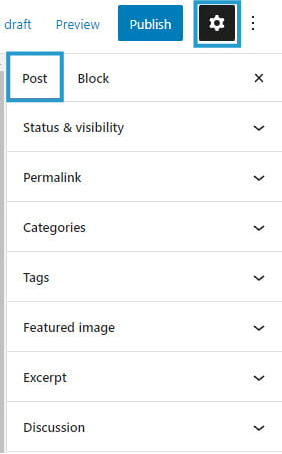
Document Settings
The Document Settings in the sidebar on the right of the block editor are used to change post and page settings such as status, visibility, change post format, make the post sticky, add categories and tags, change page template, and more.
Click on the Settings icon next to the Publish/Update button if you don’t see the editor sidebar and then click on Post or Page to access the document settings options.
Settings Sidebar Menu Video
Watch the following video to see how settings in the editor sidebar are used to change post and page settings such as status, visibility, add categories and tags, change page template and customize blocks.
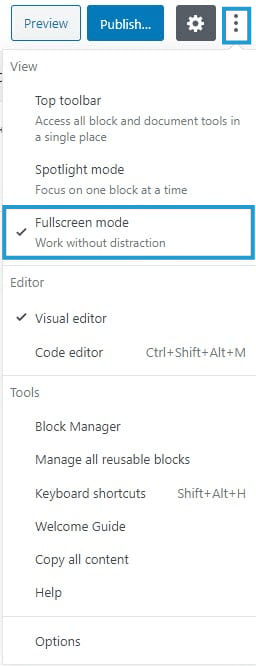
More Options
You can customize your editing experience using the three dots to the right of the Settings Icon in the settings sidebar on the right of the block editor.
By default, the block editor loads in fullscreen mode and this can be disabled to reveal the main navigation.
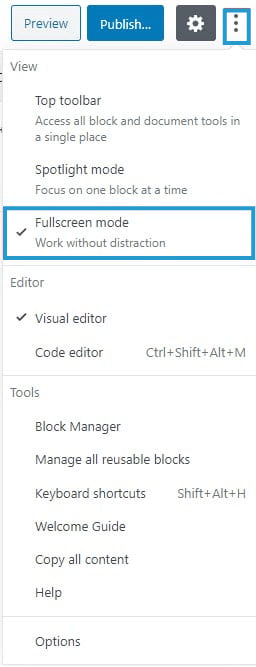
- View: controls where the block toolbars appear when you are editing.
- Editor: By default the block editor uses the Visual Editor. Selecting Code Editor enables you to view the entire page in HTML – same concept as clicking on the Text tab in the Classic editor.
- Tools: Manage existing reusable blocks, copy all content to paste to another page, or learn about the keyboard shortcuts.
- Options: Controls which document settings are displayed in the right sidebar. The screen options located at the top of the page in the Classic Editor is now listed as Options in the More Options.