Links to your pages are typically displayed at the top of your site or displayed using a Pages widget or Navigation Menu widget in your sidebar or footer.
Pages are usually displayed alphabetically, but you can change the order pages are displayed in:
- at the top of your site using a custom menu.
- your pages widget by changing their page order.
- your Navigation Menu widget by changing the page order in your custom menu.
About Custom Menu
Most themes support custom menus which makes it easy to change the links displayed at the top of your site.
Below is an example of a custom menu with the sub-menu items Curriculum Vitae and Graduate attributes under About me:

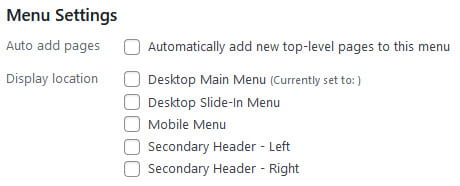
The number of display locations of a menu is theme dependent. Some theme only provide an option to display the menu in the primary menu while others like the CampusPress Flex theme include 5 different display locations.
You can also add custom menus to any sidebar or footer using the Navigation Menu widget.
Create Custom Menu
Here is how to create a custom menu to display in your primary menu location:
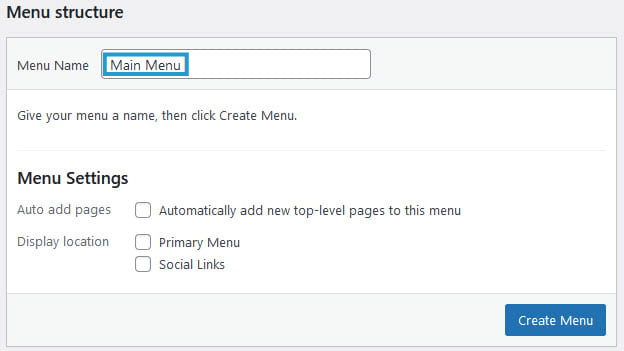
1. Go to Appearance > Menus

2. Add your menu name such as Main Menu and click ‘Create Menu‘
3. Select the pages you want to add to your menu and then click Add to Menu.
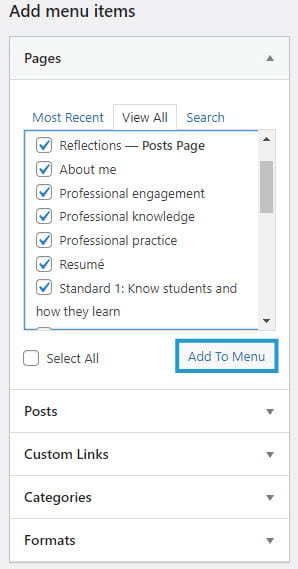
You can also add links to posts, categories, tags.
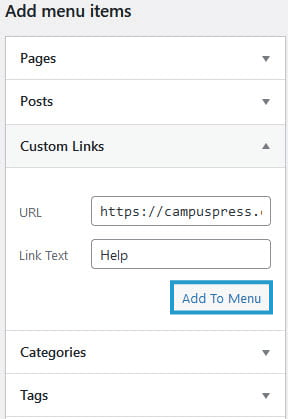
Custom links allows you to add a link to another website.
To add a custom link you add the URL where you want to take someone when they click on it, add Link Text to specify what the tab will say, and then click Add to Menu.
4. Drag and drop the items you’ve added to the menu structure to change their order in your menu.
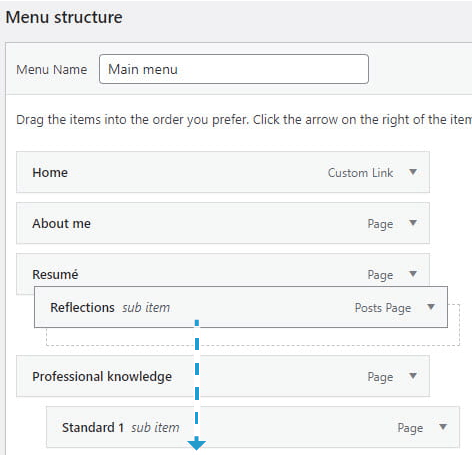
Any menu item that is indented under another item will appear as a sub-menu under that the parent. In the following menu the Resume page is indented underneath the About me page. The Resume will load in the drop down menu under About me when a site visitor hovers their cursor over About me.

5. Select the display location for your menu and then click Save Menu.
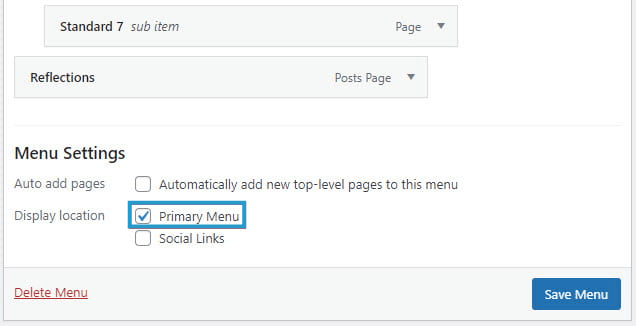
When you view your site you should now see your menu displayed in the primary menu location when you view the front end of your site.
Here’s what my menu looks like:

Static parent tabs
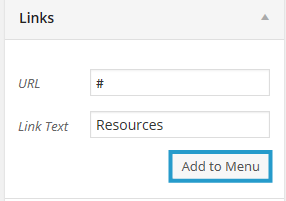
You can create static parent tabs using a custom link if you just want a link name that doesn’t go to a page that exists. This is handy when you don’t want the parent (top-level) tab to be clickable.
To add static parent tab you create a custom link by typing the ‘#’ symbol in the URL field, add Link Text to specify what the tab will say, and then click Add to Menu.
Menu item settings
You can customize the text and other details of any item you add to your menu.
To edit a menu item you click on the down arrow to the right of the menu item.
Once expanded, you can modify the following:
- Navigation Label – used to over ride the default name of the menu item and replaces it with your own navigation label.
- Title attributes – adds custom hover text to improve usability for impaired visitors using assisted devices.
- Remove – lets you delete an item from the custom menu.
- Cancel – allows you to cancel any changes you made to a menu item.

Remember to click the Save Menu whenever you make changes.
You can also enable advanced menu properties in screen options. Click on Screen Options at the top of the page and select the items you want to show on screen.

The most common advanced menu property you would use is Link Target.
Link Target is used to control if your menu links open in a new tab (or window) or the same window when a link is clicked. By default, links open in the same window.
You can create as many menus as you want and add them to a sidebar or footer using the Navigation menu widget in Appearance > Widgets.
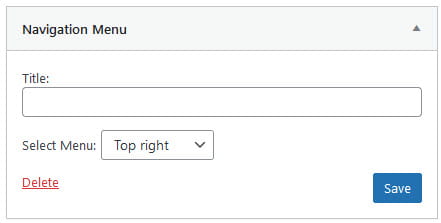
You can change the order of pages displayed by the Navigation Menu widget by changing the order of pages in your custom menu in Appearance > Menu.
Pages widget
The Pages Widget can be used to display a list of pages in your sidebar or footer.
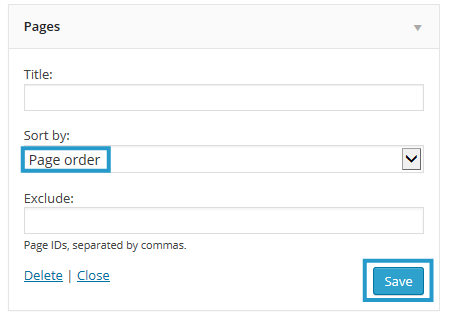
You can change the order of pages displayed by your page widget by changing the order of your pages and using the Page order option on the pages widget.
Say for example you have four pages: About, Blogging Rules, Contact Me, Help and you wanted to change their order from alphabetical to About, Blogging Rules, Help, Contact Me.
You can the order as follows:
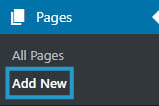
1. Go to Pages > All Pages
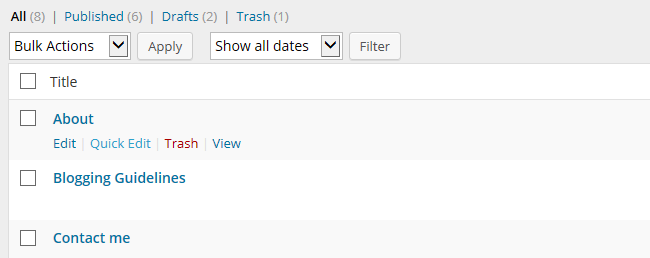
2. Hover your cursor over a page title to bring up the action menus and then click on Quick Edit.
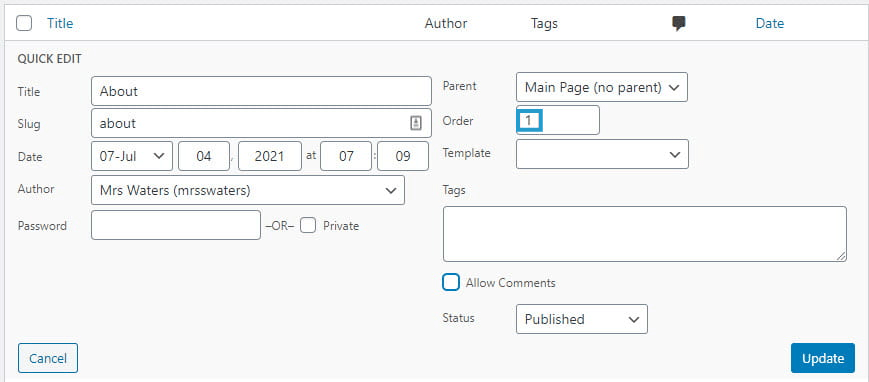
3. In the order field change the number to the new order you want the page to appear and click the Update.
You repeat this process for all the pages, and numbering them from 1, 2, 3, 4 and so on for the Order field. This tells your site to make these pages the first second, third and fourth items in the list.
In our example, we would add 1 to the Order for the About page, 2 to the Order for the Blogging Rules, 3 to the Order for the Help, and 4 to the Order for the Contact Me
4. Add the pages widget to the sidebar, change it to Page order and click Save.