Set up email subscription
Readers can subscribe to your posts if you add an email subscription widget to your sidebar.
Email Subscription Limits
Our native Subscribe by Email feature supports up to 1,000 subscribers per site. This limit applies to subscriptions managed directly through the CampusPress email subscription system.
Once you reach this limit, new subscription requests will not be processed through our native system. If you anticipate reaching or exceeding 1,000 subscribers, we recommend integrating with a third-party email service provider such as MailChimp.
Third-party services also offer significant advantages including professional email templates, detailed analytics on open and click rates, A/B testing capabilities, and advanced segmentation options to better engage your audience.
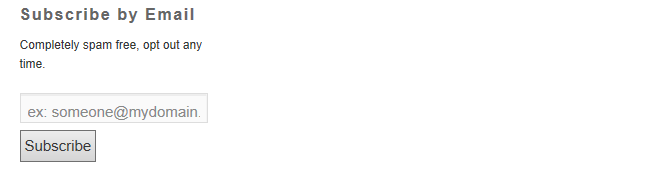
Here’s what it looks like when it’s added to a sidebar:
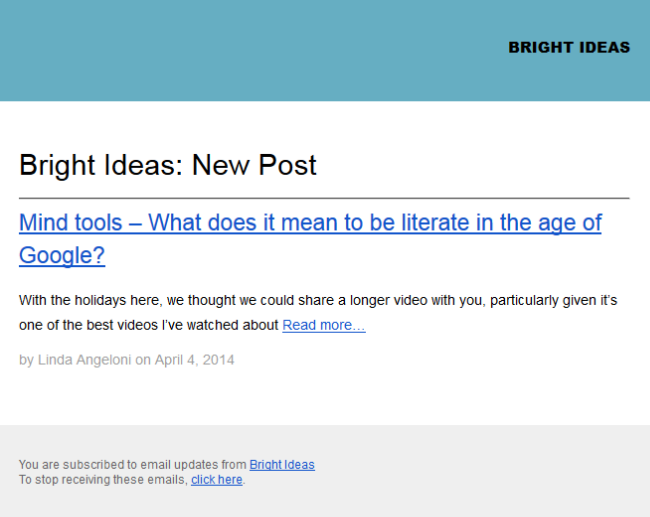
The default setting is to send a post excerpt email:
Subscribe by Email Widget
The Subscribe by Email widget allows readers to subscribe to email notification each time you publish a new post.
You add the Subscribe by email widget as follows:
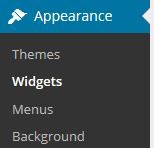
1. Go to Appearance > Widgets
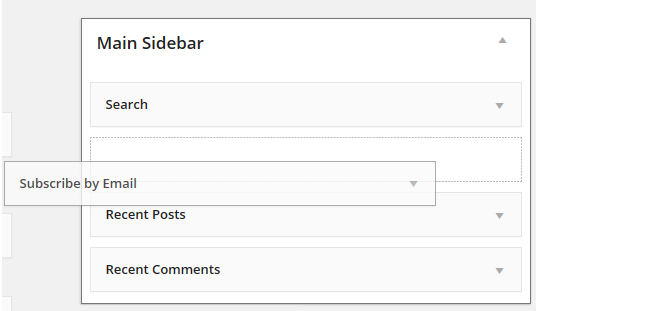
2. Click on the triangle on the right side of desired Sidebar to expand (so you can add the widgets).

3. Drag and drop the Subscribe by Email widget from the Available Widgets into the desired Sidebar.
4. The widget will automatically open — configure, click Save and then Close.
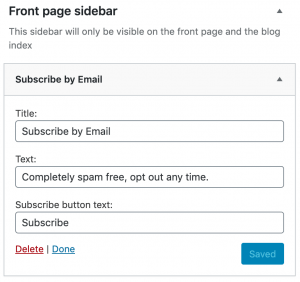
- Title: Allows you to add your own custom title. For example, Subscribe to this blog by email.
- Text: Allows you to customize the information on the widget. For example, you could change it from ‘Completely spam free, out out any time.’ to ‘You can unsubscribe at any time.’
- Subscribe button text: Used to change the message on the subscribe button.
5. Readers will now see the Subscribe by email widget in your sidebar. They subscribe by adding their email address and clicking Subscribe.
6. New subscribers are sent an email and have 7 days to click on the link to confirm they wish to subscribe to your posts by email. Subscribers won’t receive any emails until they have confirmed their email subscription.
Add email subscribers
You can add email subscribers inside your dashboard as follows:
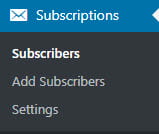
1. Go to Subscriptions > Add Subscribers

2. Add their email address.

3. Click Subscribe
Please note:
- Some email domains block the email notification.
- If you are unsure if the email notification are being sent we recommend you test it by subscribing using gmail account which doesn’t block these emails.
- If you receive the emails to the gmail account and the person doesn’t it means you need to use an alternative email address.
Bulk add email subscribers
You can bulk add email subscribers using a CSV file inside your dashboard as follows:
1. Go to Subscriptions > Add Subscribers

2. Click on Browse to locate and upload your CSV file.
- The best way to create a CSV file is to use NotePad and put each email on their own line and then save the file as a .csv file.
- Users working on Macs need to use Excel, and save the file as a Windows Comma Separated (CSV) file. Saving as a regular CSV file on a Mac will cause import errors to occur.

3. Click Import.
Confirm email subscribers
New subscribers added using Subscriptions > Add Subscribers and the Subscribe By Email widget are sent an email and have 7 days to click on the link to confirm they wish to subscribe to your posts by email. Subscribers won’t receive any emails until they have confirmed their subscription.
You can manually confirm email subscribers as follows:
1. Go to Subscriptions > Subscribers
2. Select Not Confirmed emails from under Show emails drop down menu.
3. Click Filter.
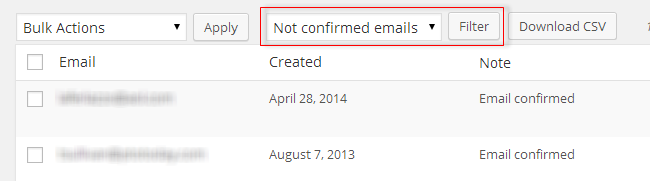
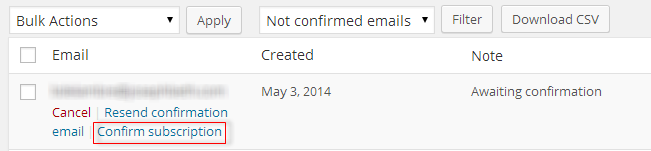
4. Click Confirm Subscription.
Remove Email Subscriber
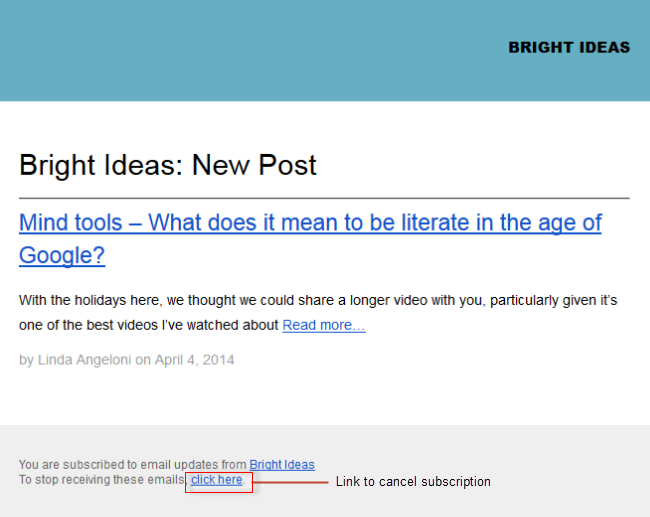
To unsubscribe from your email notifications readers can click on the unsubscribe link at the bottom of their email notification or you can remove them yourself via Subscriptions > Subscribers inside your dashboard.
Here’s an example of the link readers use to unsubscribe using the email.
Alternatively, you can remove email subscribers as follows:
1. Go to Subscriptions > Subscribers
2. Search for their subscription.

3. Hover your mouse over their email address and click Cancel.

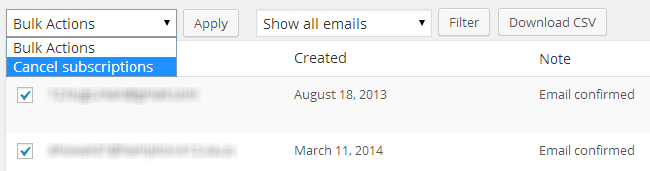
You can also bulk cancel subscriptions by selecting the subscribers you want to cancel, selecting Cancel Subscriptions from the bulk action drop down menu and then click Apply.
Subscriptions Settings
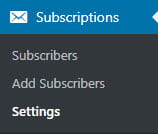
The subscriptions settings screen in Subscriptions > Settings is where you personalize your email.
General Settings
The General Settings screen is where you can customize your settings (optional). Remember to click Save Changes any time you made changes to these settings.
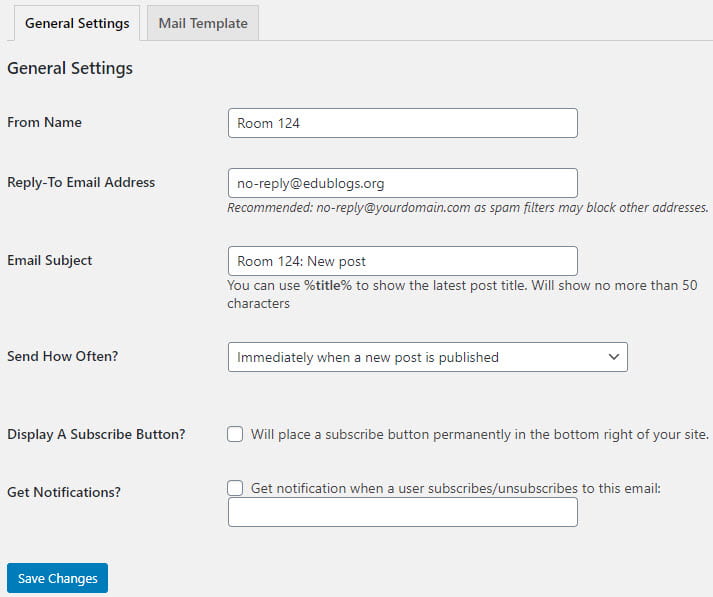
- From Name: Allows you to add your own custom from Name. By default, this is your blog title.
- Reply-to-email address: Allows you to change the reply-to-email address. By default, this is set to no-reply@edublogs.org.
- Email Subject: Allows you to add your own email subject.
- Send how often: Allows you to control when the email is sent. In most situations you would leave it as “Immediately when a new post is published”.
- Display a follow button: When this box is selected a follow button is permanently added to the bottom right of your blog.
- Get Notifications: When this box is selected you will receive email notifications when readers subscribe and unsubscribe.
Mail Template
The mail template screen is where you can personalize the look of your email. Remember to click Save Changes any time you made changes to these settings.
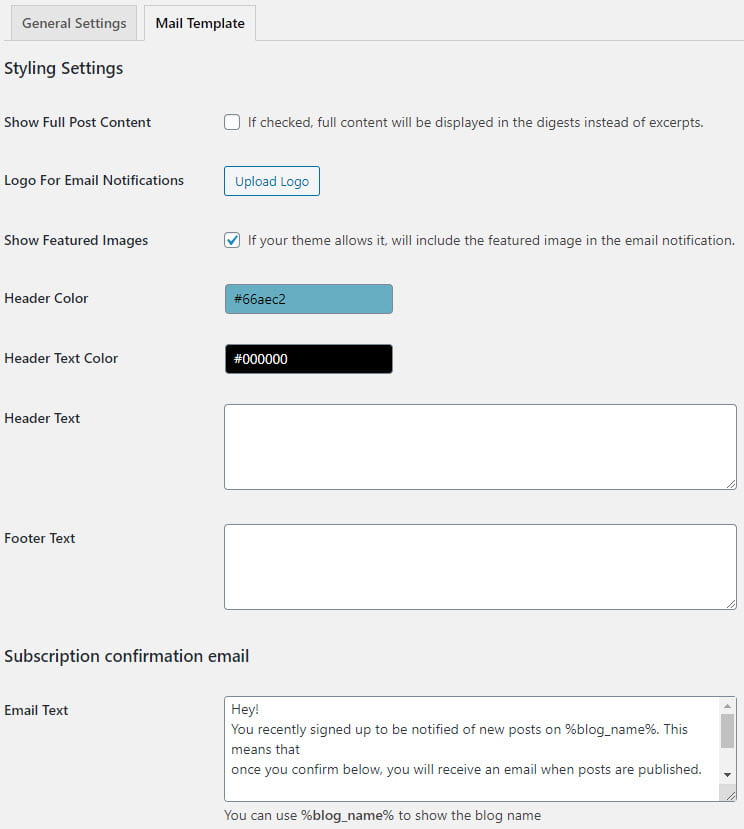
- Show full post content: If checked the full content, including images, will be sent by email instead of an excerpt.
- Logo for email notifications: allows you to upload your own custom logo.
- Show featured images: Allows you to add an image to your post excerpt email if your theme supports featured images the featured image will be included in the email notification.
- Featured image in email
- Header color: Allows you to change the color used in the header.
- Header color: Allows you to change the text color used in the header.
- Header text: Allows you to add some text to the header below your blog title.
- Footer text: Used to add some text to the footer of your email.
- Email text: Allows you to change the text used in the subscription confirmation email.
- Email preview: After making changes you can send a test email to check your changes. Remember to click Refresh Changes after you have made any changes. The preview email uses Latin text as the default place holder text. It’s designed to show the layout of the email for testing purposes only and isn’t sent to email subscribers.