Create own Student blog
This page contains instructions your students need to follow to create their own blog and join your class blog using My Class.
Important tips:
- You must set up My Class on your class blog by referring to the My Class support documentation page before sharing instructions on this page with your students.
- Please use the instructions for Sign up & Register blog if you aren’t using My Class.
- Click on the Print icon at the top of this support page to create a Handout. You can delete any unnecessary text by hovering over the text and then click on “Click to Delete”. We recommend you replace the name of our class blog in the Join a Class instructions with the name of your class blog.
Create blog
1. Go to the Edublogs homepage.
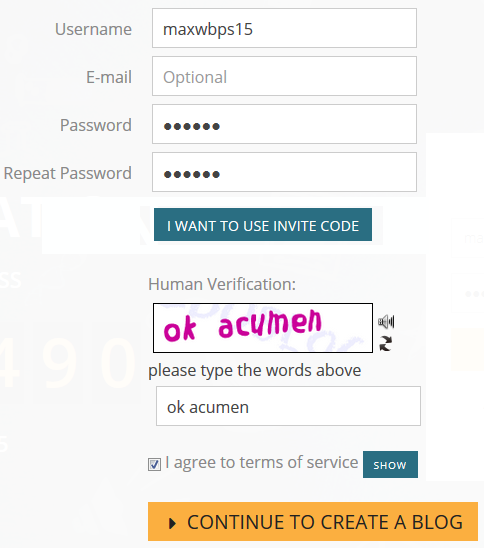
2. Enter your username, password and click Sign up for free
- Don’t use your full first and last name in your username! Refer to your teacher’s guidelines for choosing your username or make your username a combination of your first name followed by numbers that represent the year, your class number of your school’s initials. e.g. maxbps15
- Record your username and password in a safe location.

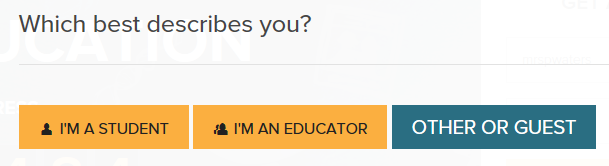
3. On the next page select which best describes you.
5. Add your email address (optional for student), the human verification word, select ‘I agree to terms of service’ and click Continue to create a blog.
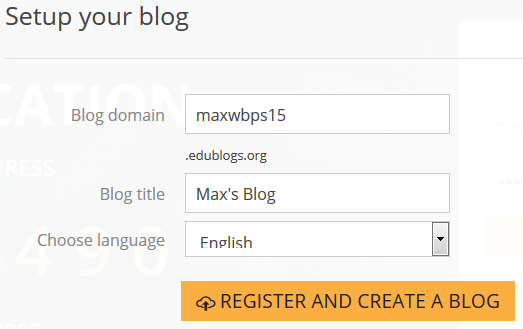
6. Add your blog title, choose your language and click Register and create a blog.
- Change the blog domain if you want the blog URL to be different from your username.
- Don’t use your full first and last name in your blog domain! Refer to your teacher’s guidelines for choosing your blog domain or leave it the same as your username.
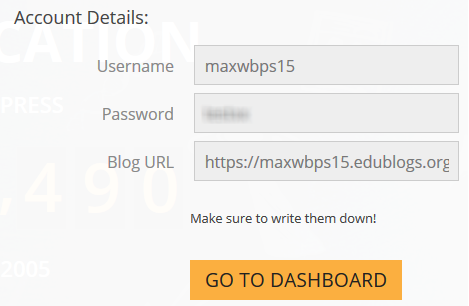
7. Once your blog is created you will be redirected to a page that displays your username, password and blog URL.
- Record your username, password and blog URL in a safe location.
Join a Class
1. Login into your blog dashboard.
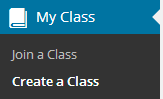
2. Go to My Class > Join a Class.

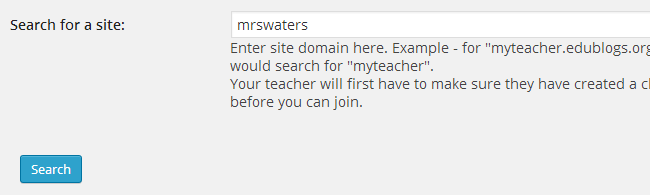
3. Search for your class blog by entering just the first part of your class blog’s URL. For example if the URL is mrswaters.edublogs.org, then you will want to search for mrswaters.
(CampusPress users with domains like sites.mynetwork.edu/mysite will instead search for the last part of the URL. Using this example, you would search for mysite.)
.
4. Click Send a request to join.
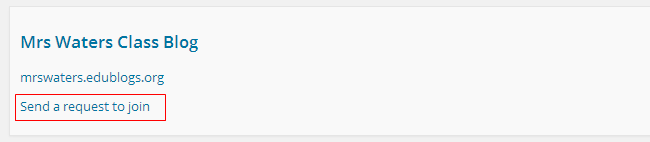
Once your teacher approves your request to join the class you will be added as user to the class blog and your student blog.
This means you will have access to both the class blog and your student blog dashboard. You will see less menu items if you are logged into the class blog dashboard.
To publish posts you need to be in the dashboard of your student blog.
Changing blog dashboards is as simple as:
1. Go to My Sites dropdown menu in your admin bar.
2. Click on the dashboard of the blog you want to access.

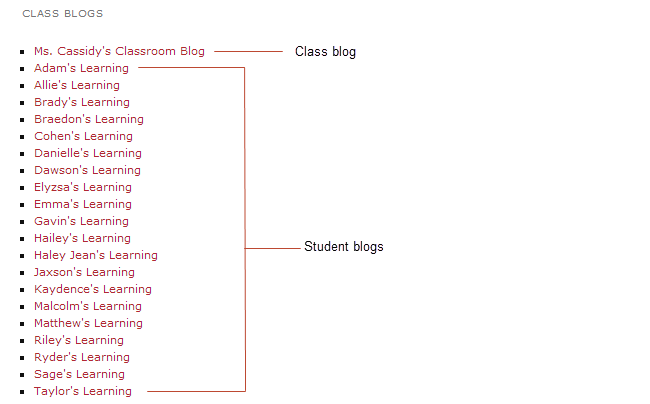
Finding class mates blogs
The easiest way for you to read posts on your friend’s blog is to add the class blog widget to your sidebar. The class blog widget provides a handy link to all student blogs attached to Class Blog.
You just need to click on the link to easily go to a class mates blog.
Adding the class blog widget is as simple as:
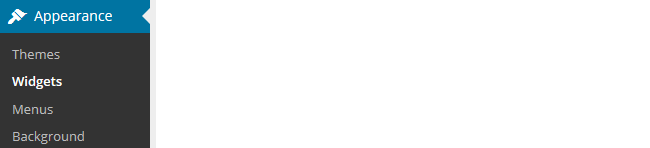
1. Go Appearance > Widgets.
2. Add the class blog widget to the desired sidebar.
3. The widget will automatically open.
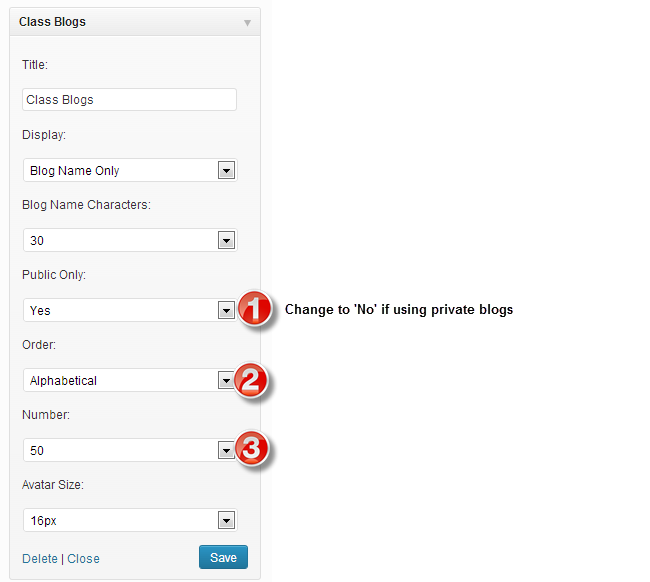
4. Select ’No’ under Public only if you are using private blogs (1), alphabetical (2), the number of blogs (3) and then click Save.
- Any time more student blogs are added to the Class blog you update the Class blog list by opening up the Class blog widget and clicking Save.