Your avatar is an online representation of you.
Types of Avatars
There are two types of avatars:
1. User Avatar
The user avatar is also known as your comment avatar.
You upload the user avatar via Users > Your Avatar and it displays in places where you leave comments and next to posts you publish on some themes.
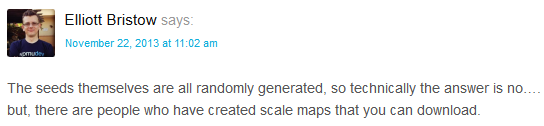
Below is an example of a user avatar next to a comment.
Here are online tools you can use to create an avatar:
2. Blog Avatar
The Blog avatar is uploaded via Settings > Blog Avatar and it is displayed in your sidebar when you add the Blog Avatar.
Upload User Avatar
You upload your comment avatar as follows:
1. Resize your image to 200 pixels wide by 200 pixels high.
2. Go to Users > Your Avatar (or Profile > Your Avatar)
3. Click on Browse, select the avatar you want to upload and then click on Open.
4. Click on Upload.
5. Expand the crop area to include your full image and click Crop image.
6. Now when you view a post where you’ve left a comment you will see your new comment avatar.
If you still see the old avatar it may be your web browser remembering your old image. Right mouse click and select Refresh (Reload) to clear your web browser cache to view the latest version of your image.
Upload Blog Avatar
You upload your blog avatar as follows:
1. Resize your image to 200 pixels wide by 200 pixels high.
2. Go to Settings > Blog Avatar.
3. Click on Browse, select the avatar you want to upload and then click on Open.
4. Click on Upload.
5. Expand the crop area to include your full image and click Crop image.
6. Go to Appearance > Widgets.
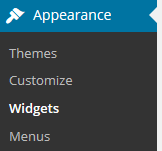
7. Drag the Blog Avatar widget from the Available Widgets into the desired Sidebar.
You drag by click on the widget with your left mouse and moving the widget.
8. When you view your site you’ll now see your blog avatar displayed in the sidebar.