The Restricted Site Access plugin is used to limit access to your site to visitors who are logged in or accessing the site from a set of specified IP addresses. It’s a good solution for Extranets, publicly hosted Intranets or when you want to limit access to your site while it is under construction.
A logged in user is able to view the content on a site that has been set to a restricted IP range even if they aren’t logging in via that IP address and haven’t been added as a user to the site.
For sites that need all content, including media files, to be restricted to specific individuals it is better to use one of existing four private site options in Settings > Reading rather than activate the Restricted Site Access plugin. Refer to our Privacy support documentation for more information.
Restricted Site Access plugin is a CampusPress only plugin.
Configure Plugin
Once you have activated Restricted Site Access plugin in Plugins > All you configure it as follows:
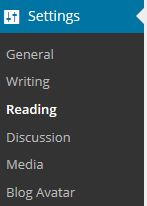
1. Go to Settings > Reading
2. Select the checkbox next to “Restrict site access to visitors who are logged in or allowed by IP address”
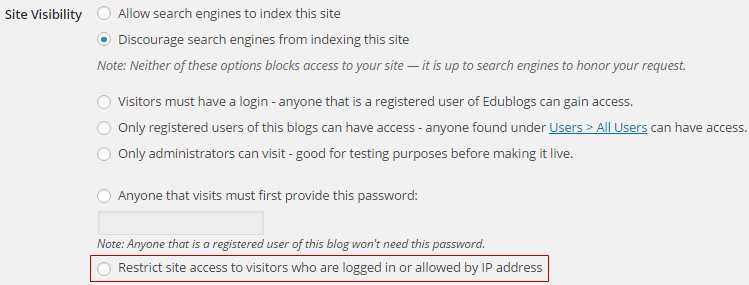
3. Select how you want to Handle Restricted Visitors.
Restricted visitors are those that are viewing your site from an IP address that you haven’t listed in the Unrestricted IP address field.

4. Add the Unrestricted IP addresses.

5. Click Save Changes.