The easiest way to moderate posts and/or comments on student blogs so they must be reviewed by a teacher before they can be published is to use My Class.
My Class is the ultimate tool for class and student blogging. It allows you to connect student blogs to your class blog where you can control the student blog privacy, comment moderation and post moderation on all student blogs with just one click.
My Class isn’t automatically enabled on Edublogs Campus blogs. Please Edublogs support if you would like to use My Class on a Campus blog.
Set up Moderation
1. Go to My Class > Create a Class
- Go to My Class > Settings if you have already set up My Class

2. Select the following settings to moderate all posts and comments on your student blogs.
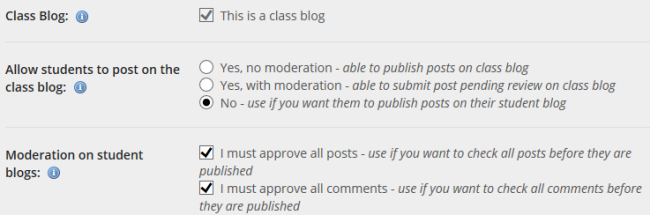
3. Click Save.
4. Go to Settings > Discussion in your class blog dashboard.
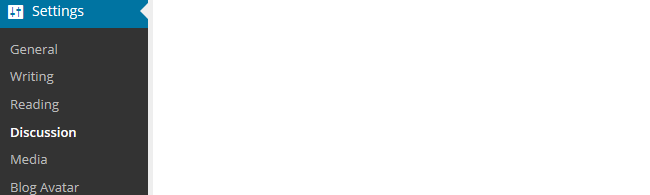
5. Select the following setting to moderate all comments on your class blog.

6. Click Save Changes.
Create Student blogs
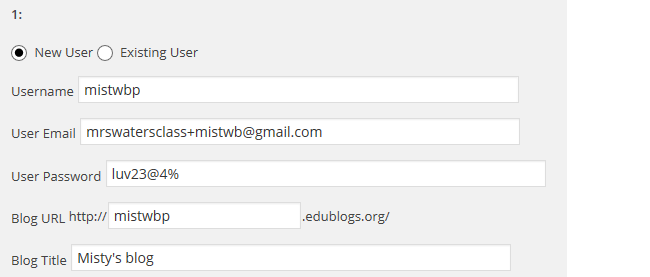
1. Go to My Class > Create Student Blogs.

2. Add username, email address, password, blog URL and blog title.
- This creates their student blogs, adds them as a user to the class blog, adds you as a user to their student blog and connects their student blog with the class blog.
- You can create your student accounts with one email account if you don’t want students to use their own email account.
- Refer to these tips for choosing student usernames, blog URLs and blog titles.
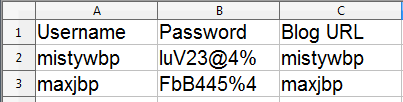
We recommend you use the preset password option and record their username/password/blog URL in a spreadsheet as you create their blogs. Some teacher require students to informed them when passwords are changed so they have a record of the student’s latest password.
This is handy for those students who forget password or provided the wrong email address.
3. Click Submit.
![]()
Approve pending posts and comments
The Reader is the fastest way for you to check all pending posts and comments on your student blogs. This allows you to preview posts and comments and publish them with one click!
You would use the Reader if you used either or both of the following My Class settings:

Please note you’ll still see pending comments lists on My Class > Student blogs even if you selected not to moderate comments on student blogs. You don’t need to approve these commets; you just need to remind students that they have comments pending review and need to approve the comments themselves.
Previewing and approving posts and comments is as simple as:
1. Go to Dashboard > Reader.
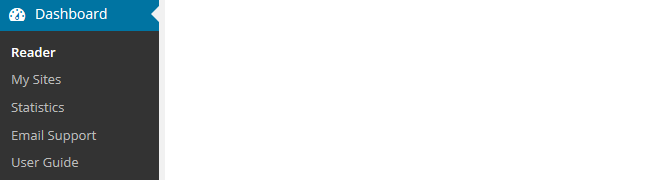
2. Click on Pending
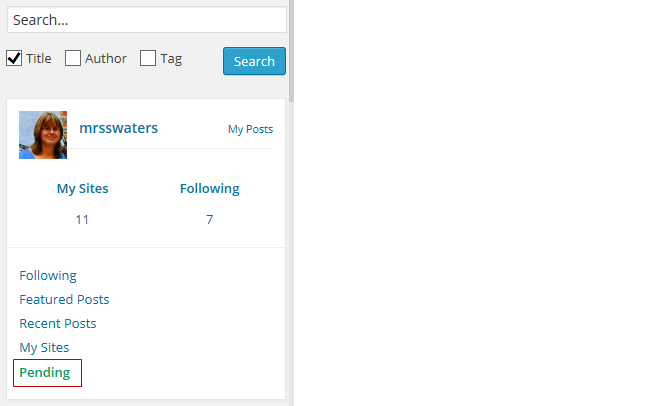
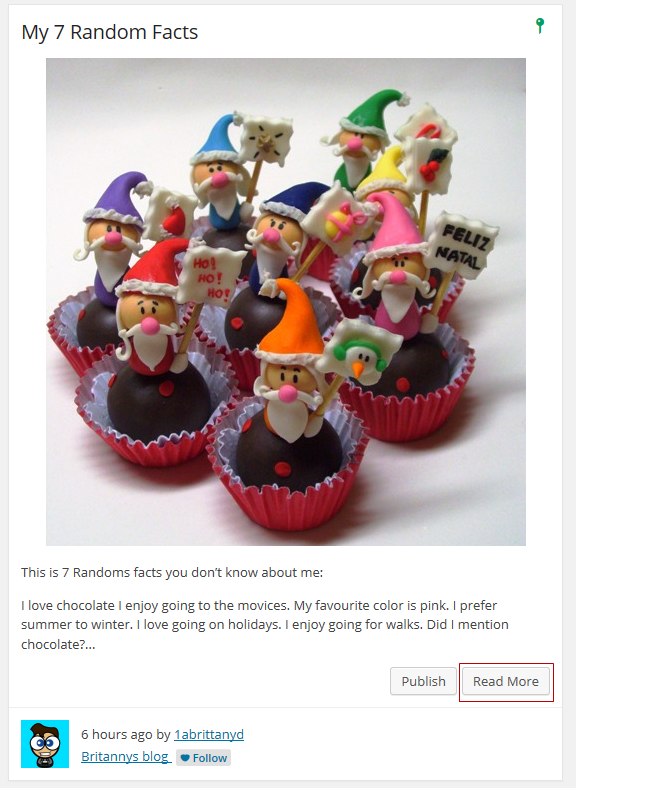
On the pending page posts and comments are listed in reverse chronological order based on the date they were submitted.
3. Click on Read More if you want to read the full post or click on Publish if you are happy to publish the post.
- Please note if you selected “I must approve all posts’ students aren’t able to edit the post once it is published.
- If you want the students to do further edits you need to leave the post as pending or change the post to draft mode by opening it in edit mode.
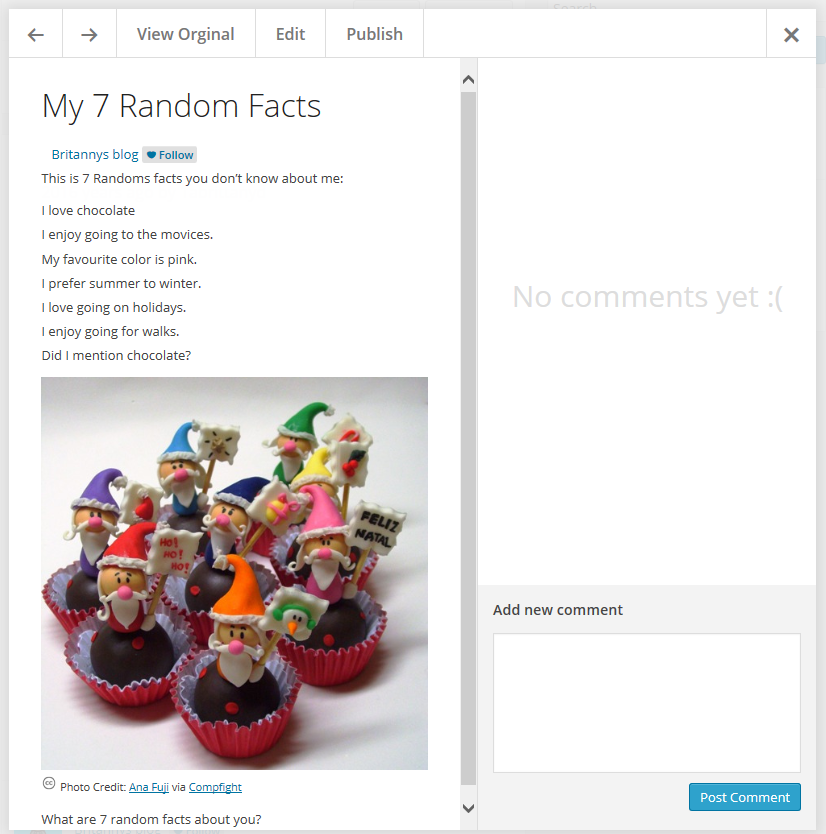
This displays the full post and allows you to select from the following options:
- View Original – when you click on ‘View original’ it loads the draft post on the student blog where you can see what the post will look like when published.
- Edit – clicking on Edit opens the post inside the dashboard of the student blog where you can make edits to the post.
- Publish – to publish the post click on Publish. Please note if you selected “I must approve all posts’ students aren’t able to edit the post once it is published. If you want the students to do further edits you need to leave the post as pending or change the post to draft mode by opening it in edit mode.
- The forward and back arrows allow you to scroll to the next or previous student post or comment.
Approve Pending Pages
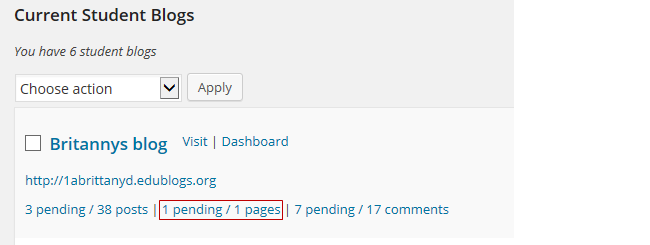
1. Go to My Class > Student blogs.
- All your student blogs attached to My Class are listed here.
- This is where you’ll see the number of published and pending posts / pages / comments
2. Click on the link to pending pages under a student blog.
3. This takes you to the pending page inside the student blog dashboard.
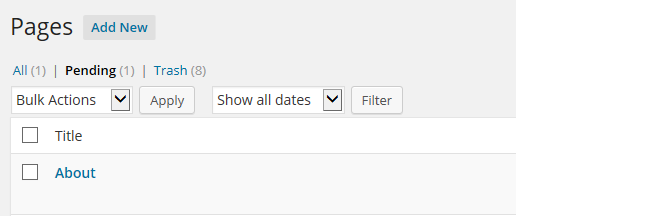
4. Now all you need to do is click on Edit.

5. Review the page and then click Publish.
- Alternatively, add your feedback and click Save as Pending if you want the student to make more edits to their post.
- Once a post is published the student can’t edit the post.
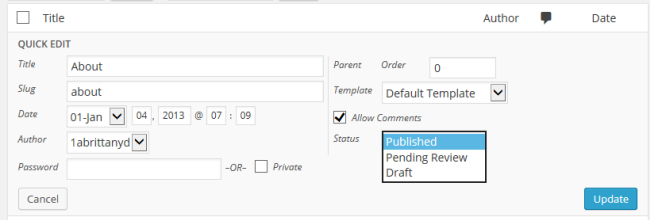
6. Alternatively, you can click on Quick Edit, change the post status to Published and click Update if you don’t want to open the post in Edit mode.
7. Go to back to My Class > Student blogs inside your class blog.
8. Repeat this process for all pending pages on your student blogs.