Categories Block
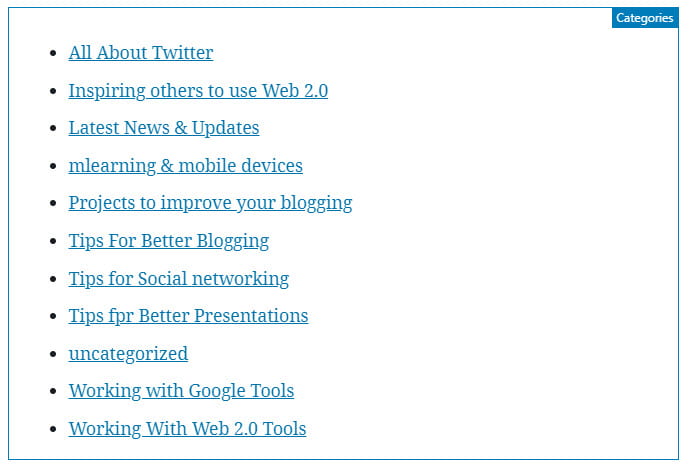
The categories block makes it easy for you and your readers to easily posts by category.. For example, you could add a category block to a page and clicking on a category display all your posts assigned that category.
Here’s what it looks like when it’s added to the Block Editor.
To add a categories block to a page you click on the + icon at the left of any empty block or at the top left of the editor then search for categories, or locate it in the Widgets section, and click on the categories icon.
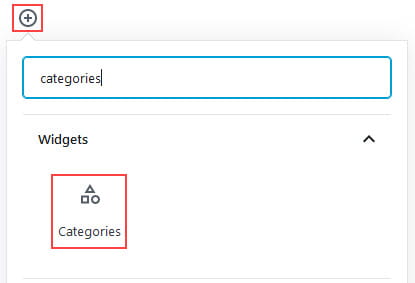
More detailed instructions for adding blocks can be found here.
Block Toolbar
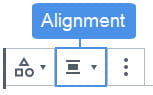
You reveal the block’s toolbar by selecting the block. The category block toolbar has option to change block type and alignment.
The change block type or style icon is used to transform the block to a group block.
The alignment of the category block is changed by clicking on the change alignment icon and selecting the preferred alignment.
By default, the categories block is aligned left. Click on the change alignment icon and select the preferred alignment.
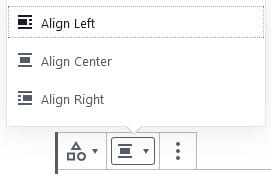
- Align left: used to align categories left.
- Align Center: used to center align categories.
- Align Right: used to align right categories.
Block Settings
Additional options for the categories block are located in the editor sidebar of the block editor. Click on the Settings icon next to the Publish/Update button if you don’t see the editor sidebar.
The Categories Settings allow you to display the categories as a dropdown rather than the default bullet list. It also includes options to display hierarchy or display post counts per category.
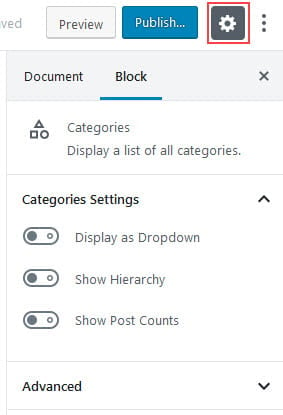
The advanced tab lets you add a CSS class to your block allowing you to write custom CSS and style the block.