Custom Post Type UI Plugin
The Custom Post Type UI plugin provides an easy to use interface for registering and managing custom post types and taxonomies for your website.
Custom post types are used to handle content that you mightn’t necessarily want to add to Posts or Pages. For example, you could create the custom post type “Artwork” for displaying all your art to keep it separate from your posts and pages. Portfolio projects content types and Testimonials content types are custom post types created by Jetpack.
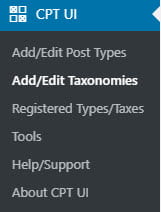
Once you’ve activated the Custom Post Type UI plugin in Plugins > All, you will see a new CPT UI menu item added to your main navigation.
Create New Custom Post Type and Taxonomies
To create a new custom post type you need to:
1. Go to CPT UI > Add/Edit Post Types

2. Add the post type slug, plural label and singular label.
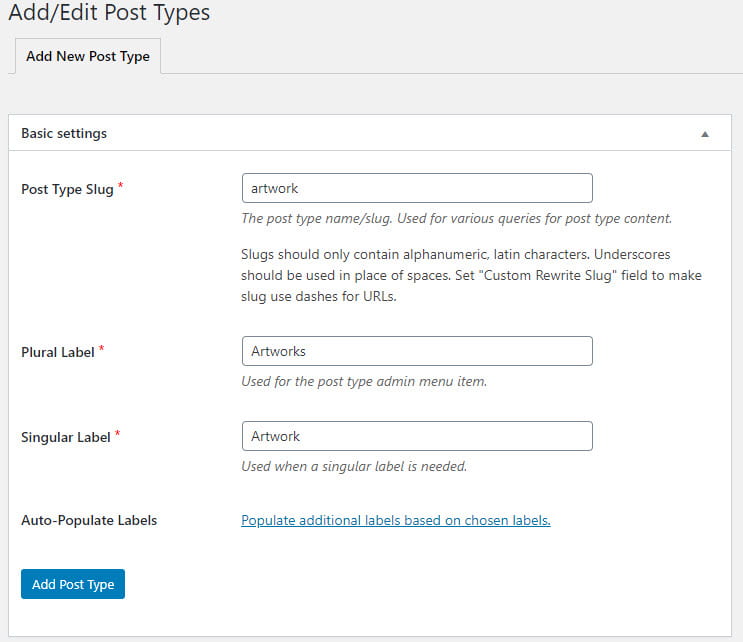
3. Click Add Post Types.
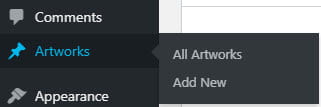
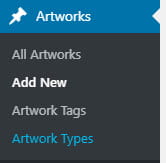
4. The menu item for your new custom post type will appear in your main navigation.
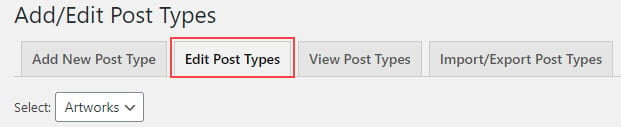
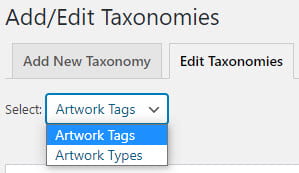
5. Click on the Edit Post Types tab.
6. Scroll down to Has archive and change to True.

7. Change to True for Exclude From Search if you don’t want content from your custom post type to appear in searches on the front end of your site.

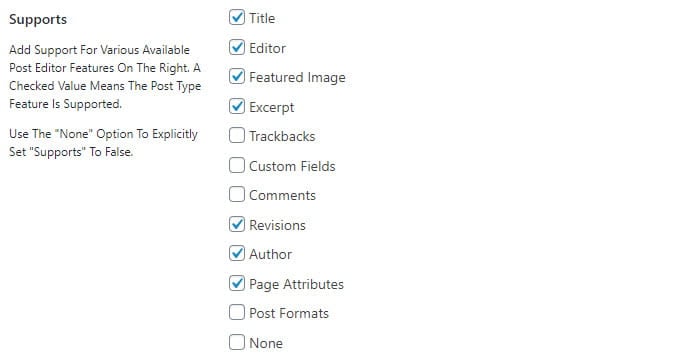
8. Scroll down to Supports and select the modules you want listed in the post editor of your custom post type.
9. Click Save Post Type.
10. Go to CPT UI > Add/Edit Taxonomies
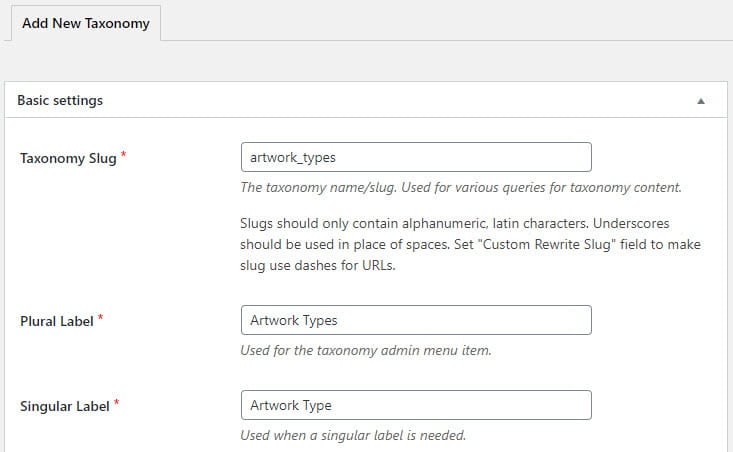
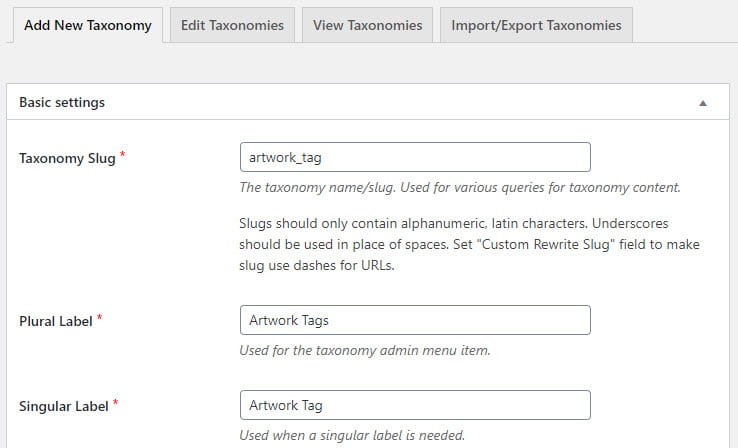
11. Add your taxonomies slug, plural label and singular label.
- This first taxonomy will be similar to using categories on posts.
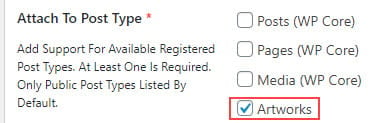
12. Select the custom post type you created under Attach to Post Type.
13. Scroll down to Hierarchical and select True.

14. Click Add Taxonomy.
15. Now create another taxonomy that will be used for the tags for your custom post type.
16. Select the custom post type you created under Attach to Post Type.
17. Click Add Taxonomy.
15. Go to CPT UI > Add/Edit Post Types
16. Click on the Edit Post Types tab.
17. Scroll down to Taxonomies at the bottom of the page and select the new taxonomies you created.
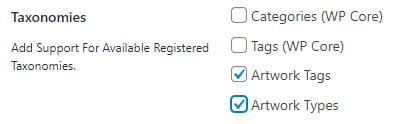
18. Click Save Post Type.
Create New Custom Post
Now you’ve created your new custom post type and taxonomies you are ready to publish custom posts. It’s a similar process to adding a new post.
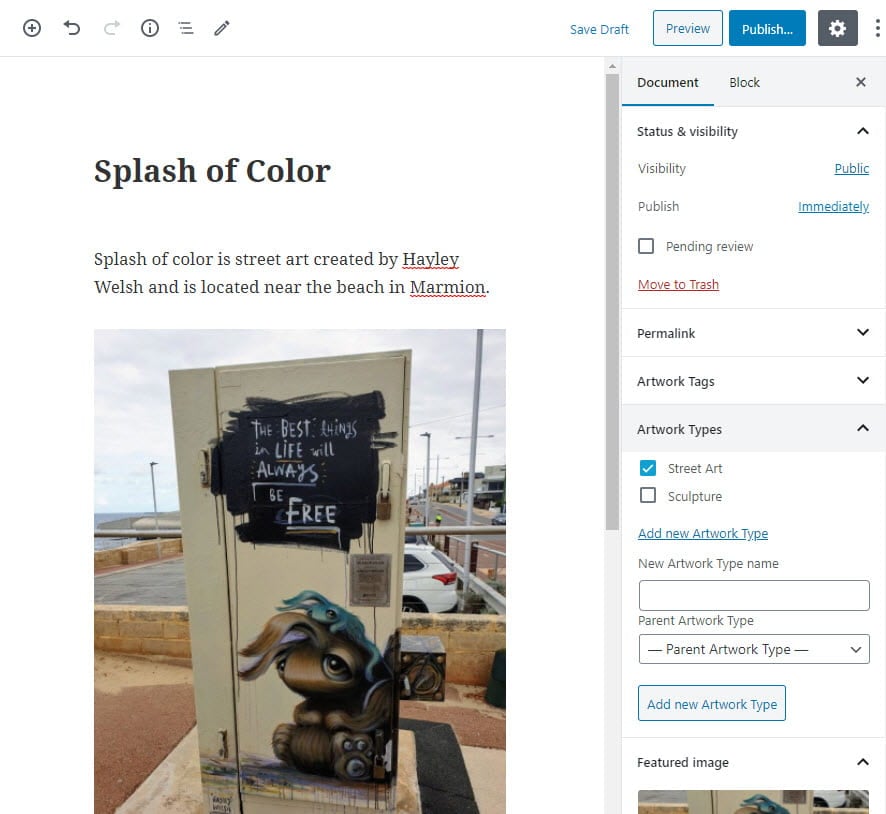
1. Go to your new custom post menu item and click Add New.
2. Add your title, content, types, tags, featured image and then click Publish.
Display Custom Post Type on Site
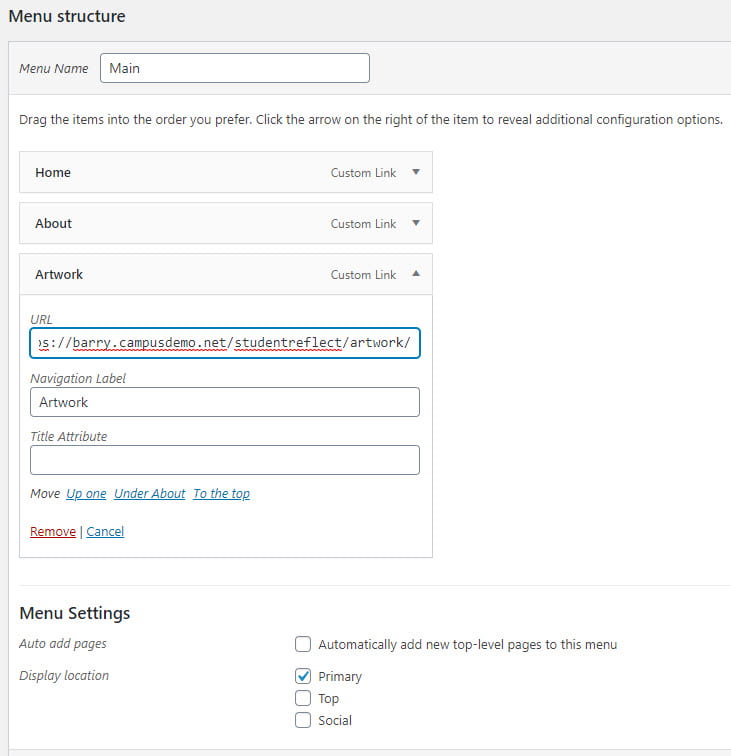
You can display your custom post types using your themes default archive template by adding a custom link to your custom post type using a custom menu in Appearance > Menu.
For example CPT URL Archive would looks something like this – http://myschool.com/studentreflect/artwork/