There are situations where you don’t want your front page (‘Home’) to display your latest posts and want a static page instead such as:
- You would like to create a more traditional website.
- You want to use a static front page to provide background information to parents or students about the purpose of your blog. The Home page normally contains content that rarely changes and latest posts are viewed by clicking on the link to the Posts page.
Refer to the following support pages to learn more:
Setting up a Static Front page
You create a static front page as follows:
1. Go to Pages > Add New.
2. Give the page the title Home (or whatever title you like) and add the content you want displayed on the front page of your blog.
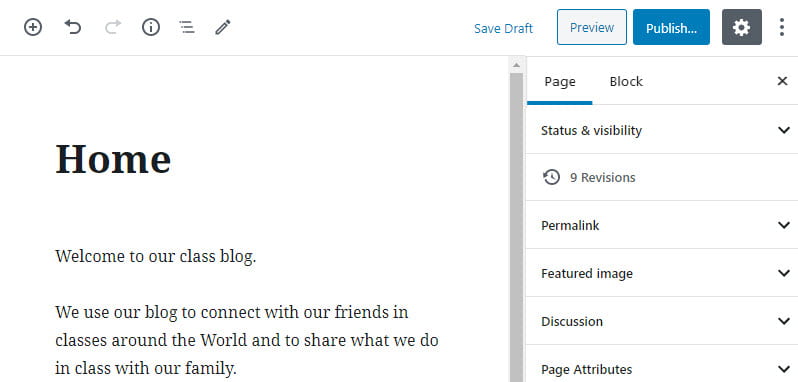
3. When you have finished writing click Publish.
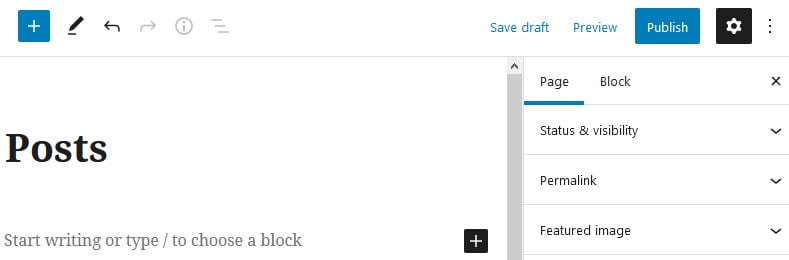
4. Go to Page > Add New and publish a new page titled Posts.
You don’t need to add content to this page since this is the page that will display your latest posts.
5. Go to Settings > Reading
6. Select A Static page with the front page set to Home and Post Page to Posts and then click Save Changes.
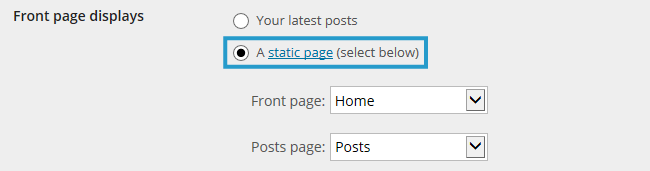
The front page of your blog should contains the content that you published on your page title Home and your latest posts are viewed by clicking on the link to the Posts page.
Fixing up the links to your pages
Once you’ve set up your Static Front page you may need to:
- Add a link in your top navigation to display your new Post page.
- Remove an extra Home link from your top navigation (some themes you can end up with two Home links when you create a static Home page because the theme has been hard coded to display “Home” link even when there are no other pages on the blog).
The solution for both is to create a custom menu for your top navigation.
Here is how you do it:
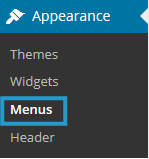
1. Go to Appearance > Menu
2. Give your menu a name – ‘Main’ will work great!
3. Click on the ‘Create Menu‘

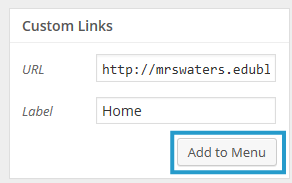
4. Create a custom link for home by adding your blog URL, the name Home and click Add To Menu.
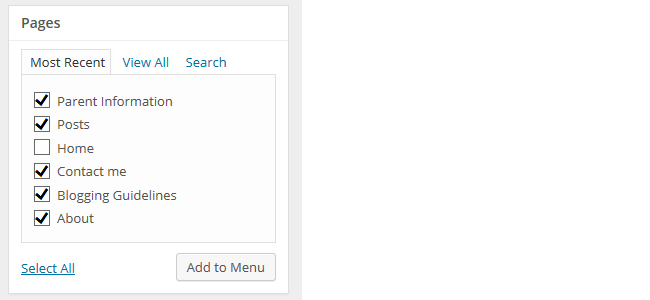
5. Select the pages you want to add to your menu then click Add To Menu.
You don’t select the Home page because you use the custom link for the Home page.
6. Now drag/drop the menu items to change their order in your menu.
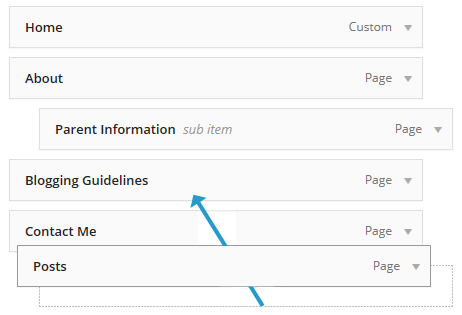
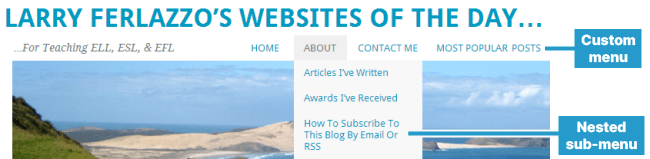
Here’s what my custom menu will look like in the main navigation area of my blog header.

7. Select Primary menu if you want your new menu to display in the top navigation on your blog.

8. Click Save Menu.
Custom menus can be used for a wide range of purposes. You can read more about working with custom menus here.