The customizer is designed to make it easier for you to customize your theme and see the results in real time. It allows you to customize any theme before you activate it.
The Customizer
Here is how you use the customizer:
1. Go to Appearance > Themes.
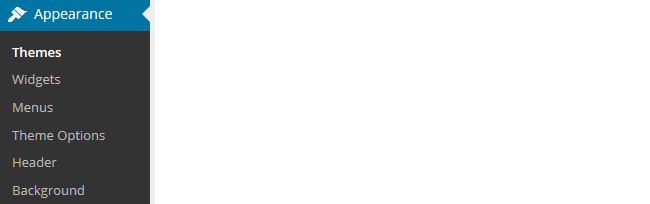
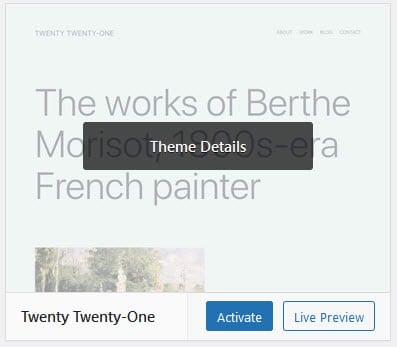
2. Click on ‘Live Preview‘ on the theme you want to use.
Hovering your mouse over a theme brings up theme action menus including the Live Preview link.
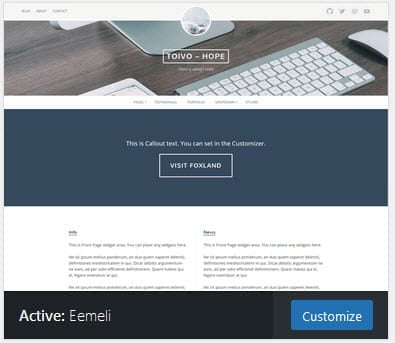
Or if you want to customize your current theme, click on ‘Customize‘ under the active theme.
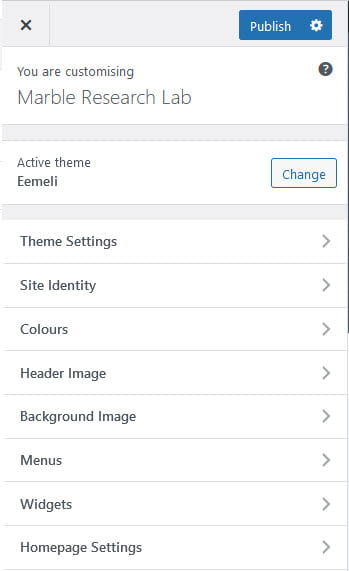
4. This loads the customizer. Now all you do is work through the control panels on the left to customize the theme to preview the theme changes in real time before activating it on your site.
5. Once you’re happy with the changes you click ‘Activate & Publish‘ or ‘Publish’.
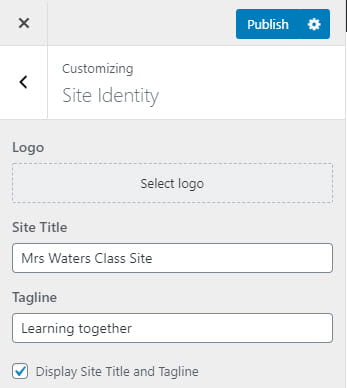
Change Site Title & Tagline
Used to change the site title and tagline on your blog. Not all themes display taglines. The site title and tagline are normally displayed in or near the header area of your site and the site title is also used when visitors bookmark your sute in their web browser.
If you want to remove the site title, and the tagline if your theme displays the tagline, you uncheck ‘Display Header Text’ under Site Title & Tagline section of the Customizer and then click Publish.
This is a handy option if your site title and tagline are displayed over the top of your custom image header and interfere with the look you are trying to achieve.
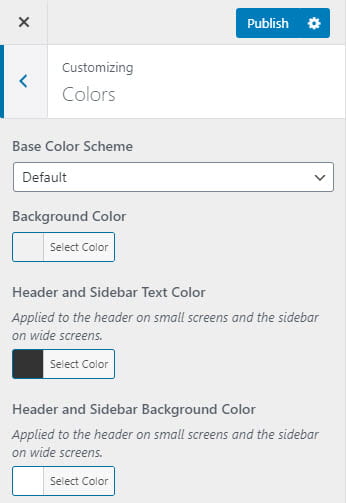
Change Theme Colors
‘Colors’ controls the color of the header text and background color. Which options are included depends on the theme. Not all themes allow you to change the header text color. Changes to header text color take time and you need to wait for the page to refresh to view the change.
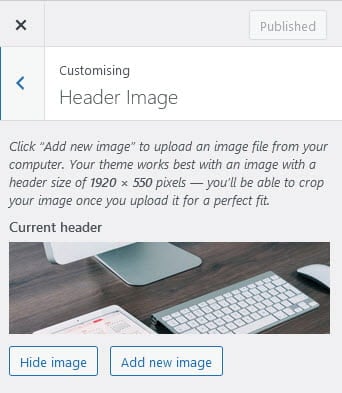
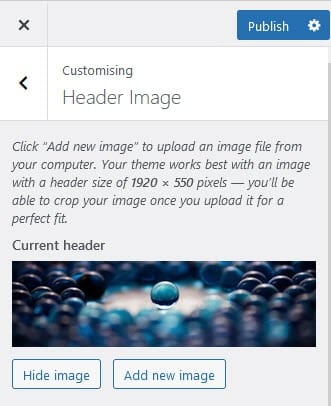
Upload Custom Header Image
The Header Image allows you to upload your own custom header image and/or a select a default header image.
You upload your own custom image header as follows:
1. Click on Header Image in the Customizer to reveal the options.
Your theme might not support use of a custom header image if you don’t see the Header Image section in the Customizer.

2. Click on Add new image.
3. Choose an image from your media library or upload a new image from your computer then click on Select and Crop.
Only .jpeg, .gif, and .png files can be used for image headers. For best results we recommend you resize the image to the exact dimensions recommended for the theme before uploading by using an image editing program.
4. Click on Crop image.
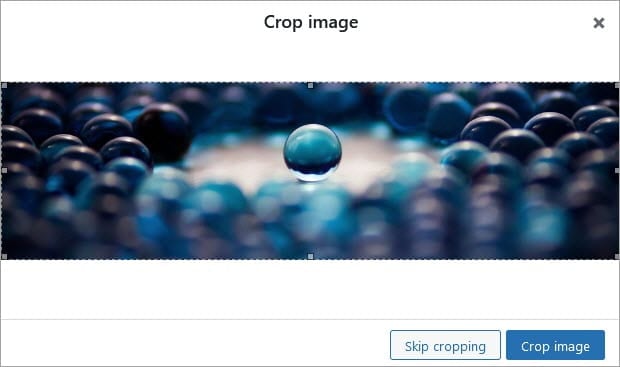
5. Your new header image should appear in the preview window.
6. Click Publish on the Customizer to activate the new header.
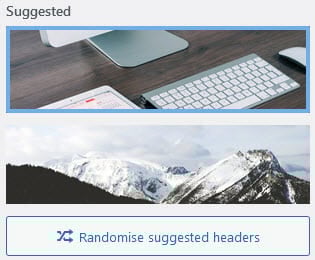
Using a Default Header Image
Some themes also include a selection of default header images. This is a good option if you don‘t want to upload your own image and you prefer to use one of the default header images or display a random default header image on each page.
If your theme includes default header images you’ll normally find them underneath the option to upload your own custom header image.
Click on the default image you want to use for your header image or click on ‘Randomize selected headers” if you would like to randomize the default header images displayed and then click Publish.
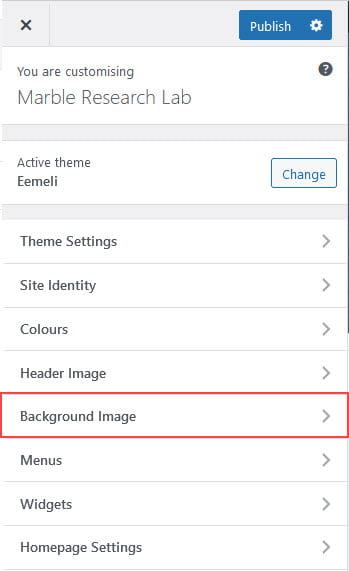
Upload Custom Background Image
Many themes allow you to upload an image to your site’s background.
You upload your own background image as follows:
1. Click on Background Image in the Customizer.
Your theme might not support use of a custom background image if you don’t see the Background Image section in the Customizer.
2. Click on Select image.
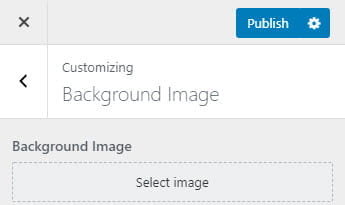
3. Choose an image from your media library or upload a new image from your computer and then click on Choose Image.
Only .jpeg, .gif, and .png files can be used.
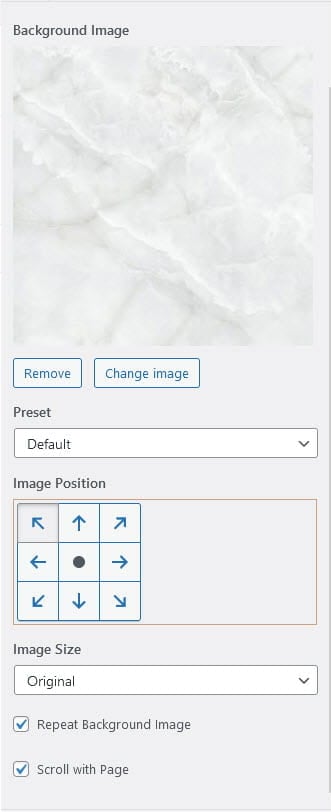
Once you have selected an image the background image options will appear:
- Preset: Default, Fill Screen, Fit to Screen, Repeat, Custom
- Image position: controls the location of the image.
- Background repeat: controls if the background image is repeated.
- Scroll with page: determines if you want the image to scroll with the content or to remain ‘fixed’ in place when a reader scrolls down the page.
4. Your new background image should appear in your preview window.
5. Click Publish on the Customizer to activate the new background on your site.
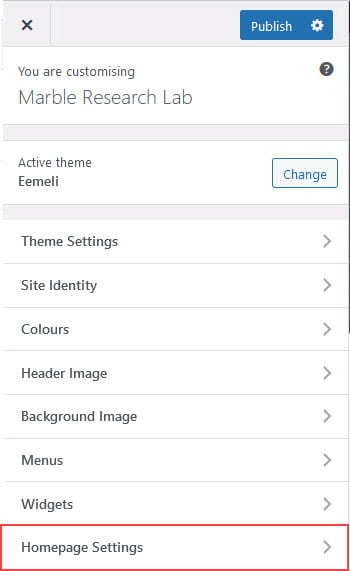
Using a Static Front page
By default, your home page is your blog post page however you can change this so your homepage is a static front page and your posts are sent to a different page on your site.
This is changed under Homepage Settings.
Refer to Set Static Home page for more information.
Upload Custom themes
Our CampusPress plans allow you to upload your own custom theme.
Editing Themes
The Simpler CSS plugin enables you to modify the theme’s fonts, colors, border and backgrounds by adding custom stylesheets to your blog. Refer to our editing CSS support documentation for more information.