You can transforms any photo gallery you’ve embedded in a post or page into a carousel with full screen photo browsing feature with comments and EXIF metadata using the Carousel module in the Jetpack plugin.
Activate the Carousel
Once you’ve activated the Jetpack plugin you activate the carousel module as follows:
1. Go to Jetpack > Settings

2. Click on the Writing tab.

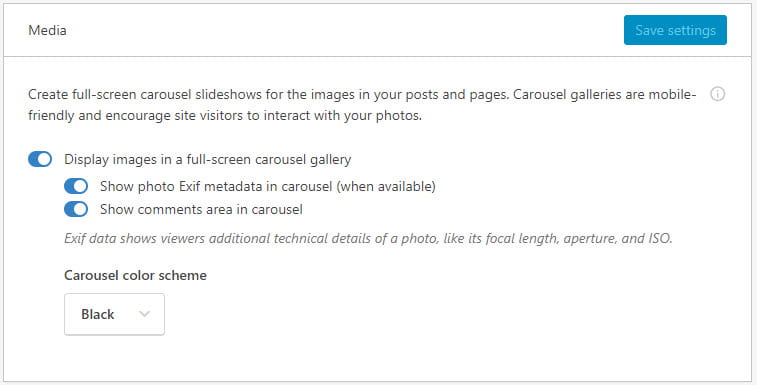
3. Scroll down to Media module and toggle on the switch next to “Display images in a full screen carousel gallery“.
On this page you can also choose to show or hide the comments area in the image lightbox, set a black or white background for the carousel and choose to display the photo metadata (Exif) in the Carousel if it’s available.
Using the Carousel
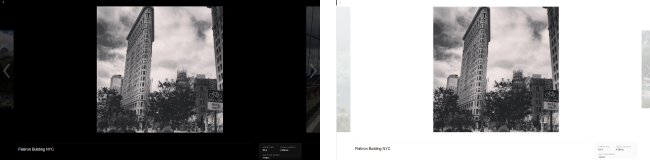
Once you’ve activated the Carousel module it transforms any photo gallery you’ve embedded in a post or page into a carousel with full screen photo browsing feature.
Click on an image to see it in action!


Carousel Options
Your carousel options can be adjusted in Settings > Media.
Here is where you can set a blank or white background for your carousel:
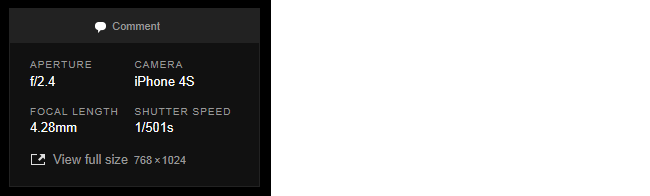
You can also choose if you want to display the photo metadata (Exif) in the Carousel.
You change your carousel settings as follows:
1. Go to Settings > Media

2. Select your preferred carousel options.
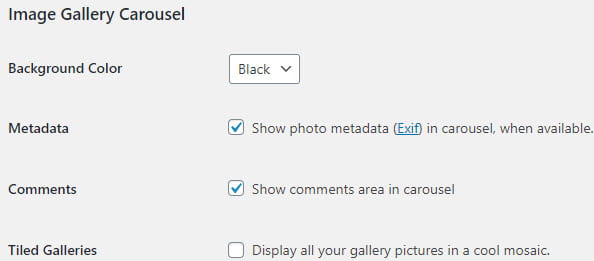
Selecting “Display all your gallery pictures in a cool mosaic” activates the Tiled Galleries module.
3. Click Save Changes.
Troubleshooting
You must be using either “Allow search engines to index this site” or “Discourage search engines from indexing this site” in Settings > Reading to use Carousel or Tiled Galleries.
You can’t use Carousel or Tiled Galleries if your site is using one of the private options in Settings > Reading as these features require the images to be served from WordPress.com CDN which isn’t possible on private sites.