You can display related posts at the bottom of your posts using the Related Posts module in the Jetpack plugin. Your site must have at least 10 published posts for related content to appear.
Related content is automatically generated based on the content of the posts and any tags or categories assigned to your posts.
Activate Related Posts
Once you’ve activated the Jetpack plugin you activate the Related Posts module as follows:
1. Go to Jetpack > Settings

2. Click on the Traffic tab.

3. Activate ‘Show related content after posts’ toggle.
General Information
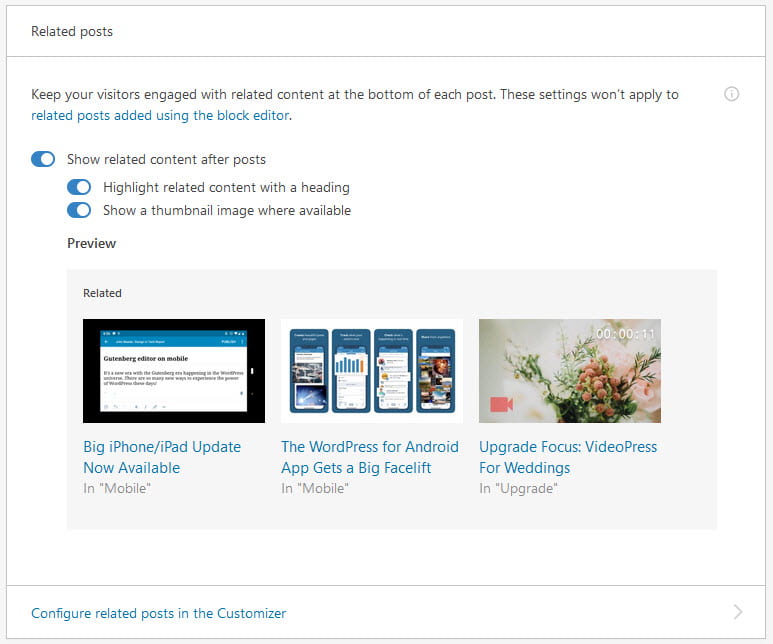
How the related posts are displayed can be changed using the Customizer, the options on the Related Posts module in Jetpack Settings or in Settings > Reading.
Options in Settings > Reading are:
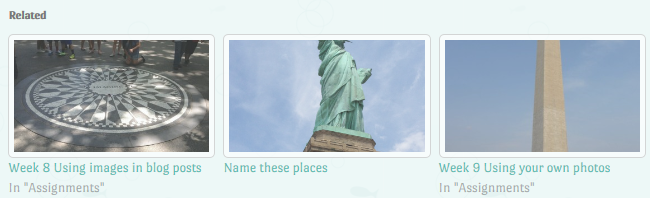
- Show a “Related” header to more clearly separate the related section from posts – adds a “related” header above the related posts to better separate the section from the end of your posts.
- Use a large and visually striking layout – displays an accompanying image next to the post titles. If you haven’t set a featured image for the post then it will pull the first image in the body of the post as the thumbnail.
- Show entry date – displays date published.
- Show context (category or tag) – displays the category or tag assigned to the post.
Related posts are automatically displayed at the bottom of your posts provided WordPress.com is able to display at least 3 good results. Post are selected based on the content of the post and any categories or tags assigned to the post. Related posts for a given article are cached for 12 hours.
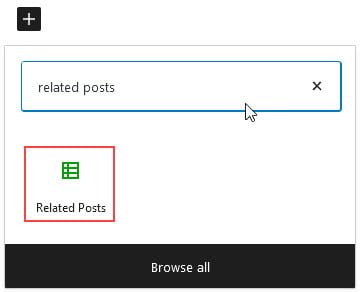
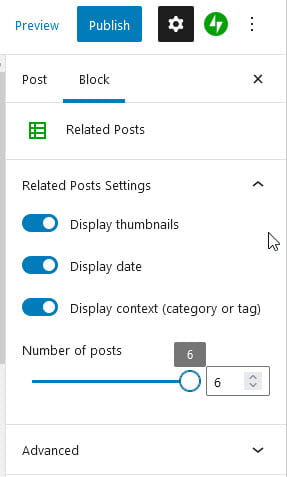
By default, related posts displays 3 posts. If you are using the block editor you can add a Related Post block to change the number of related posts displayed (maximum number is 6) and the location in the post where the related posts are displayed.
The number of related posts, and how the posts are displayed, is customized using the block settings.
Related Post thumbnails
Thumbnails are resized and automatically cropped to be 350px wide by 200px tall to create consistent visual display. If you haven’t set a featured image for the post it’ll use an image from a slideshow, gallery or single image inserted into the post.