Simple tooltips plugin is a quick and easily tool to add tooltips to your text in posts and pages.
Using Simple Tooltips
Once you activate the Simple Tooltips plugin in Plugins > All you use it as follows:
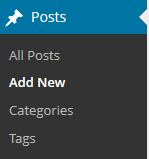
1. Go to Posts > Add New
2. Write your post.
3. Select the text you want to add a tooltip to and then click on the Insert Tooltip icon in your are using the Classic Editor.
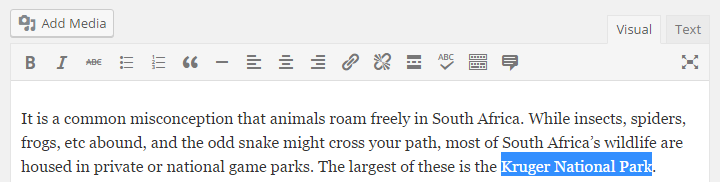
The text needs to be added using a Classic block if you are using the block editor, select the text you want to add a tooltip to and then click on Insert Tool Tip icon.

4. Add the Tooltip Content
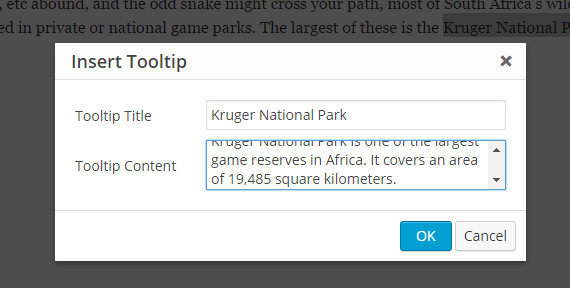
5. Click on OK to insert your Tooltip.
6. The Insert Tooltip window will close and the tooltip will be added to your visual editor using Tooltips shortcode as shown below.

7. When you view your published post your tooltip will load when you hover your mouse over the text.
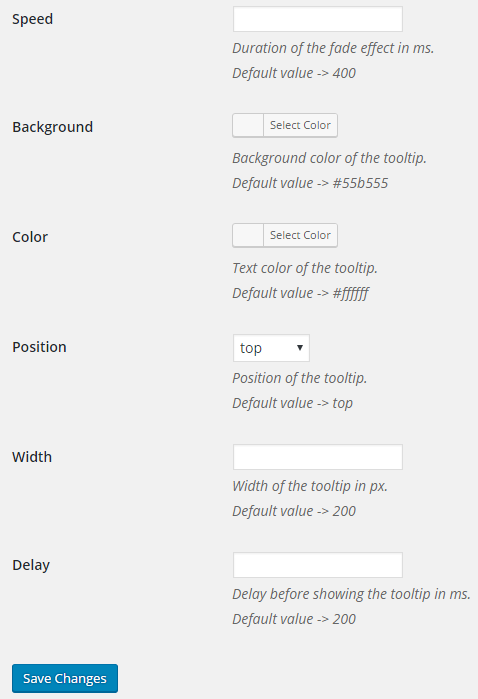
Tooltips Settings
Simple Tooltips can be configured in as follows:
1. Go to Settings > Tooltips
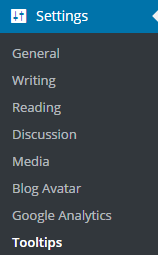
2. Make your desired changes then click Save Changes.